
Perfect Tools For Teams and Classrooms
Choose Armer Board to double your efficiency
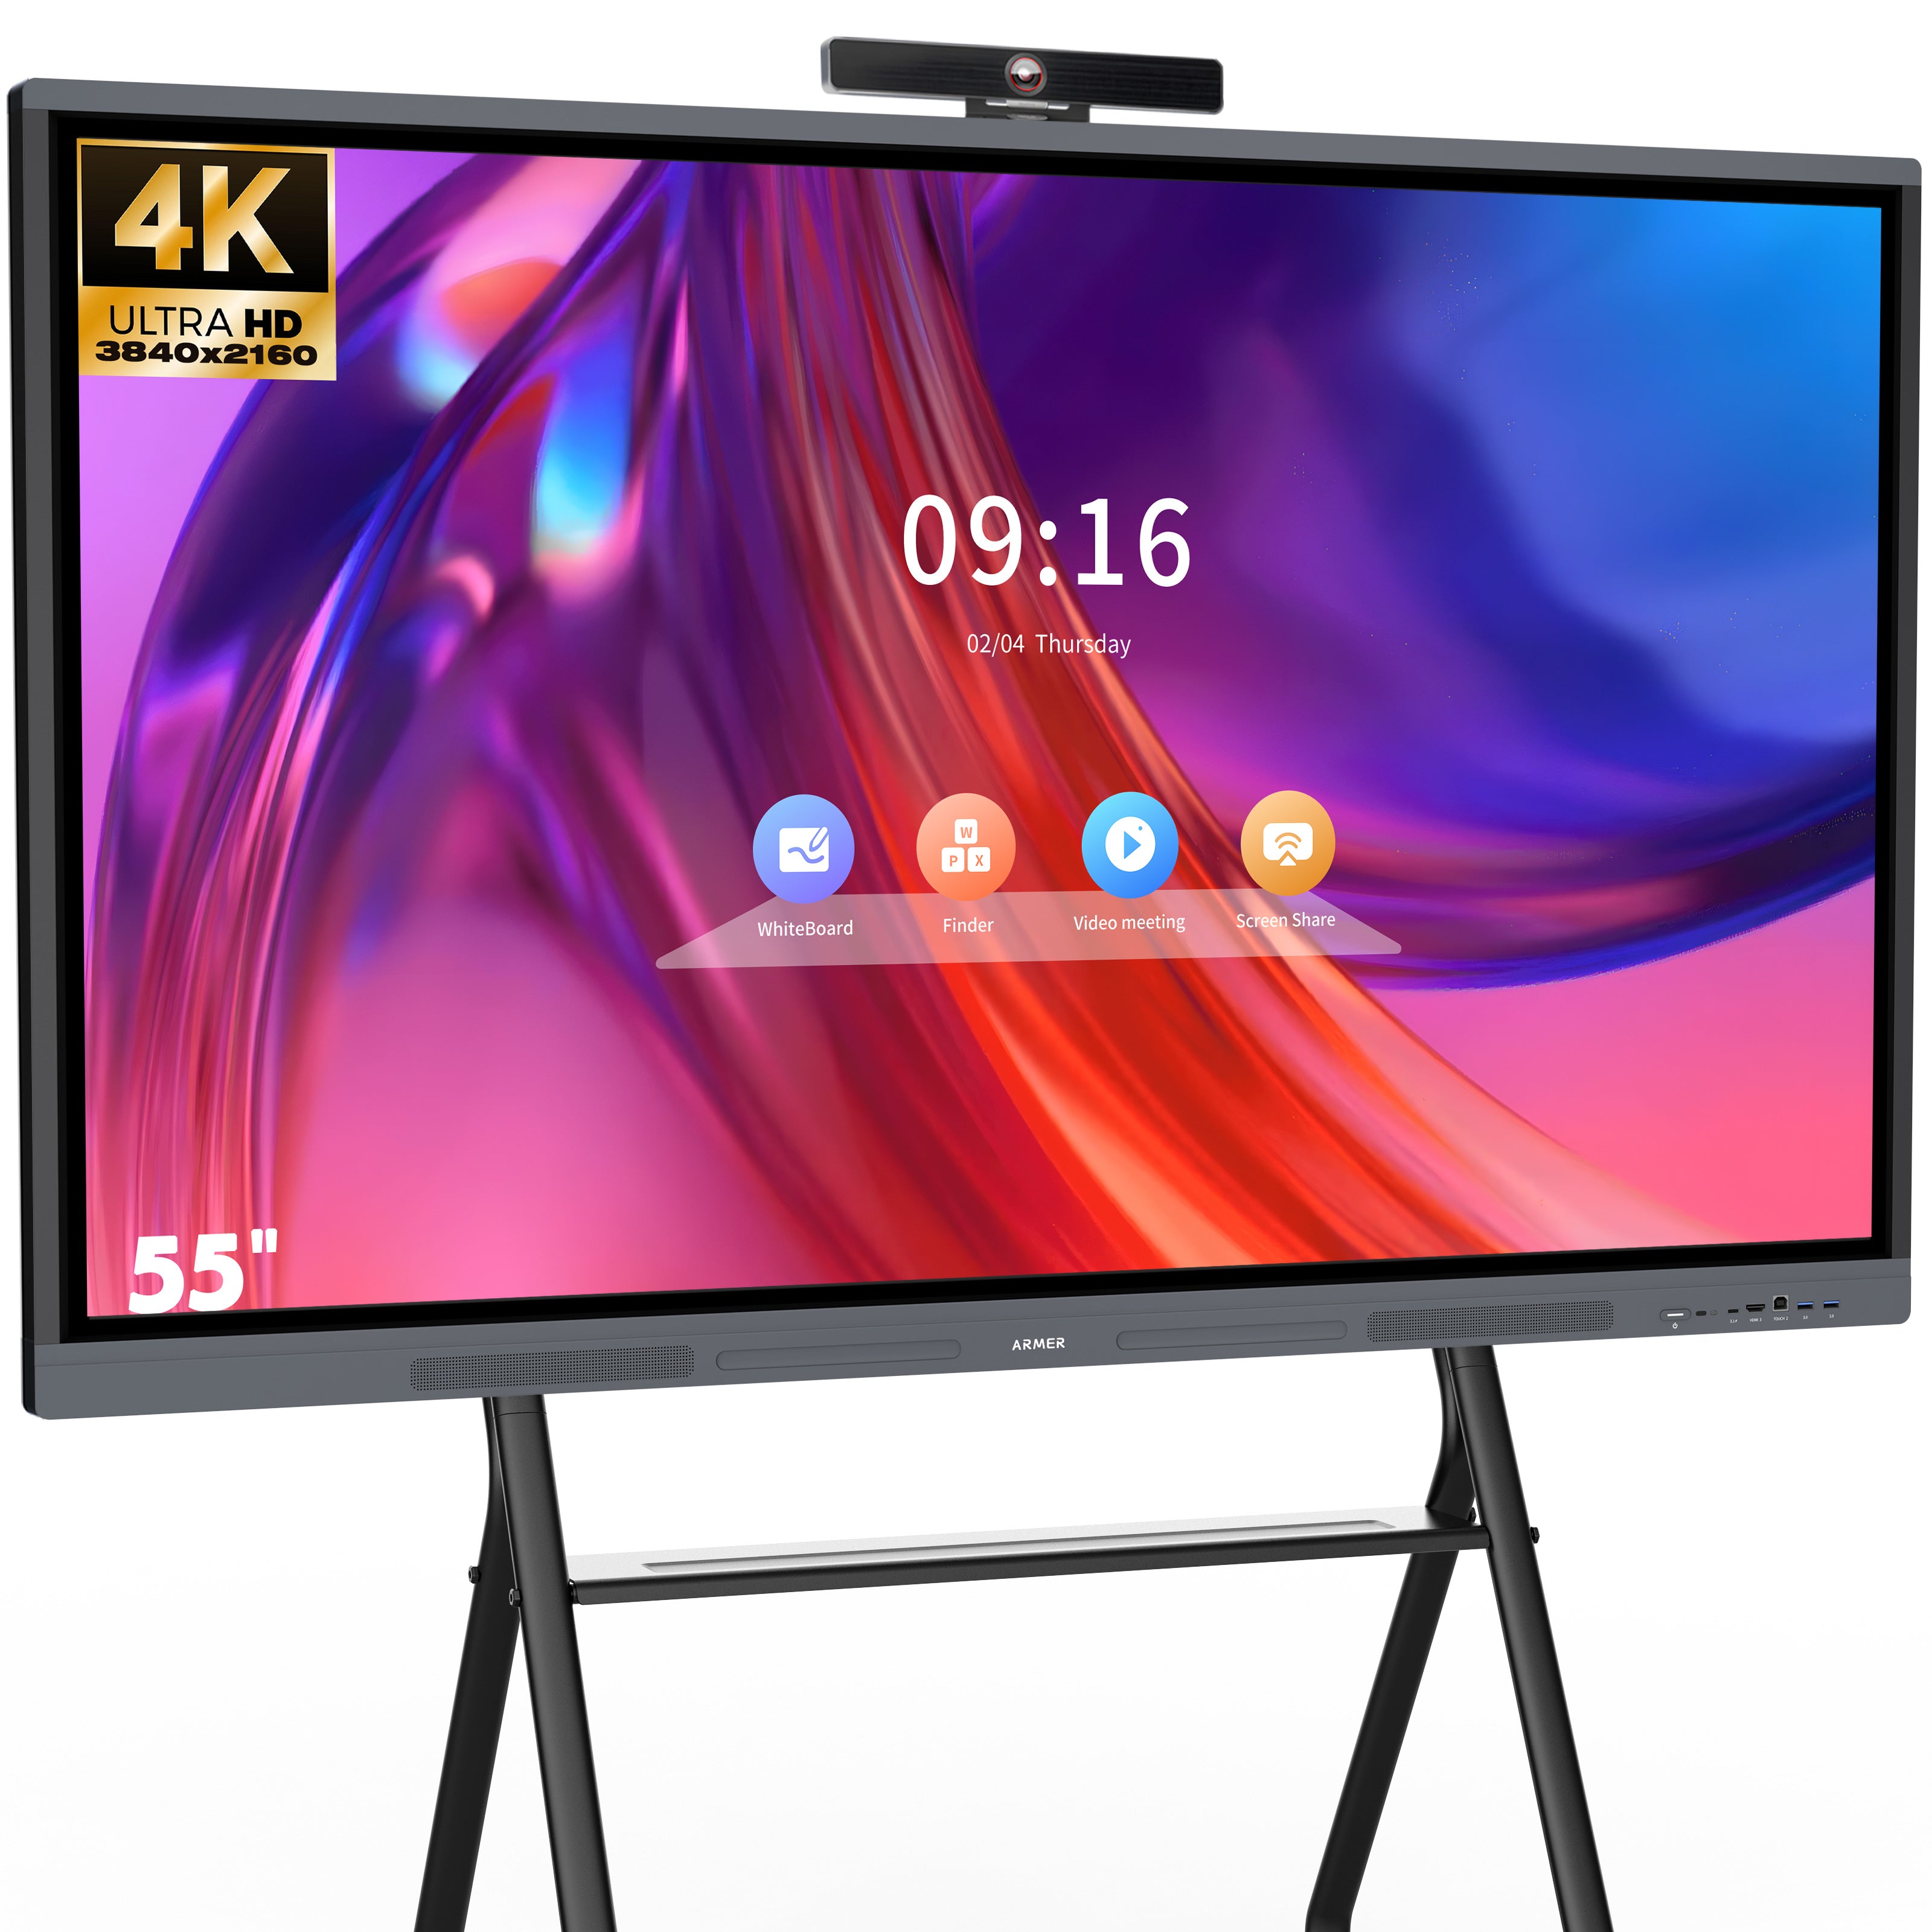


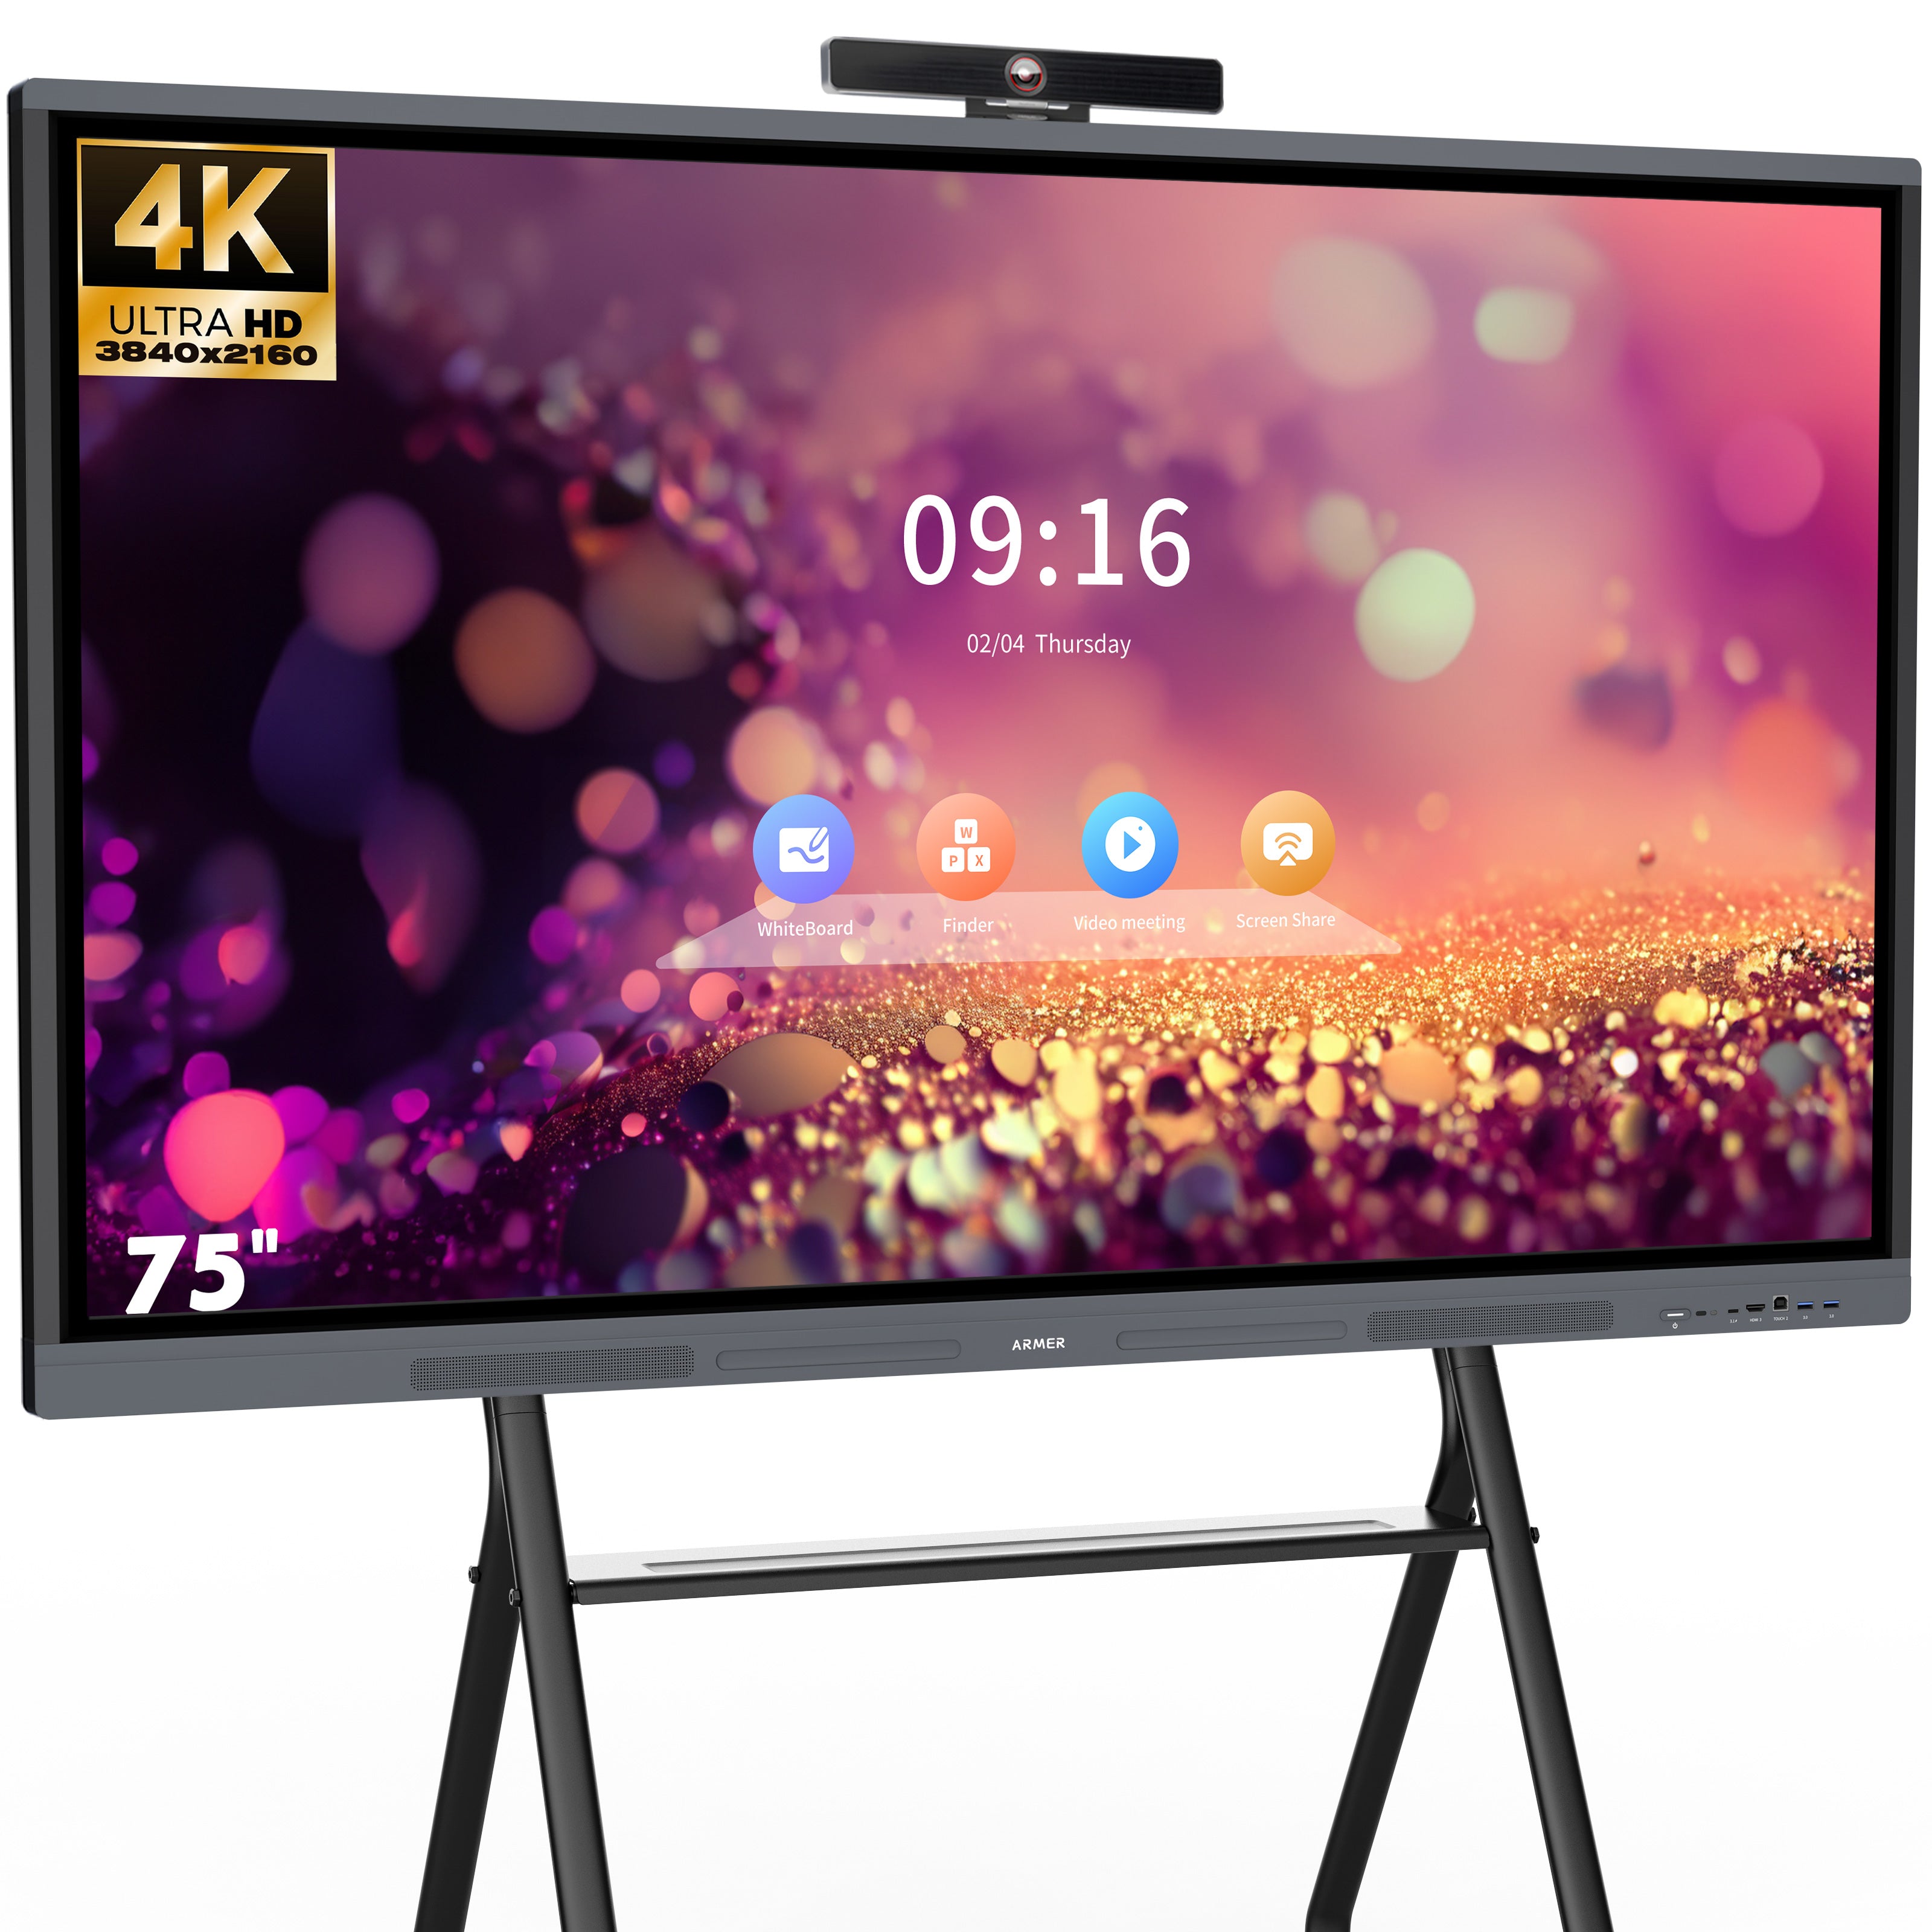
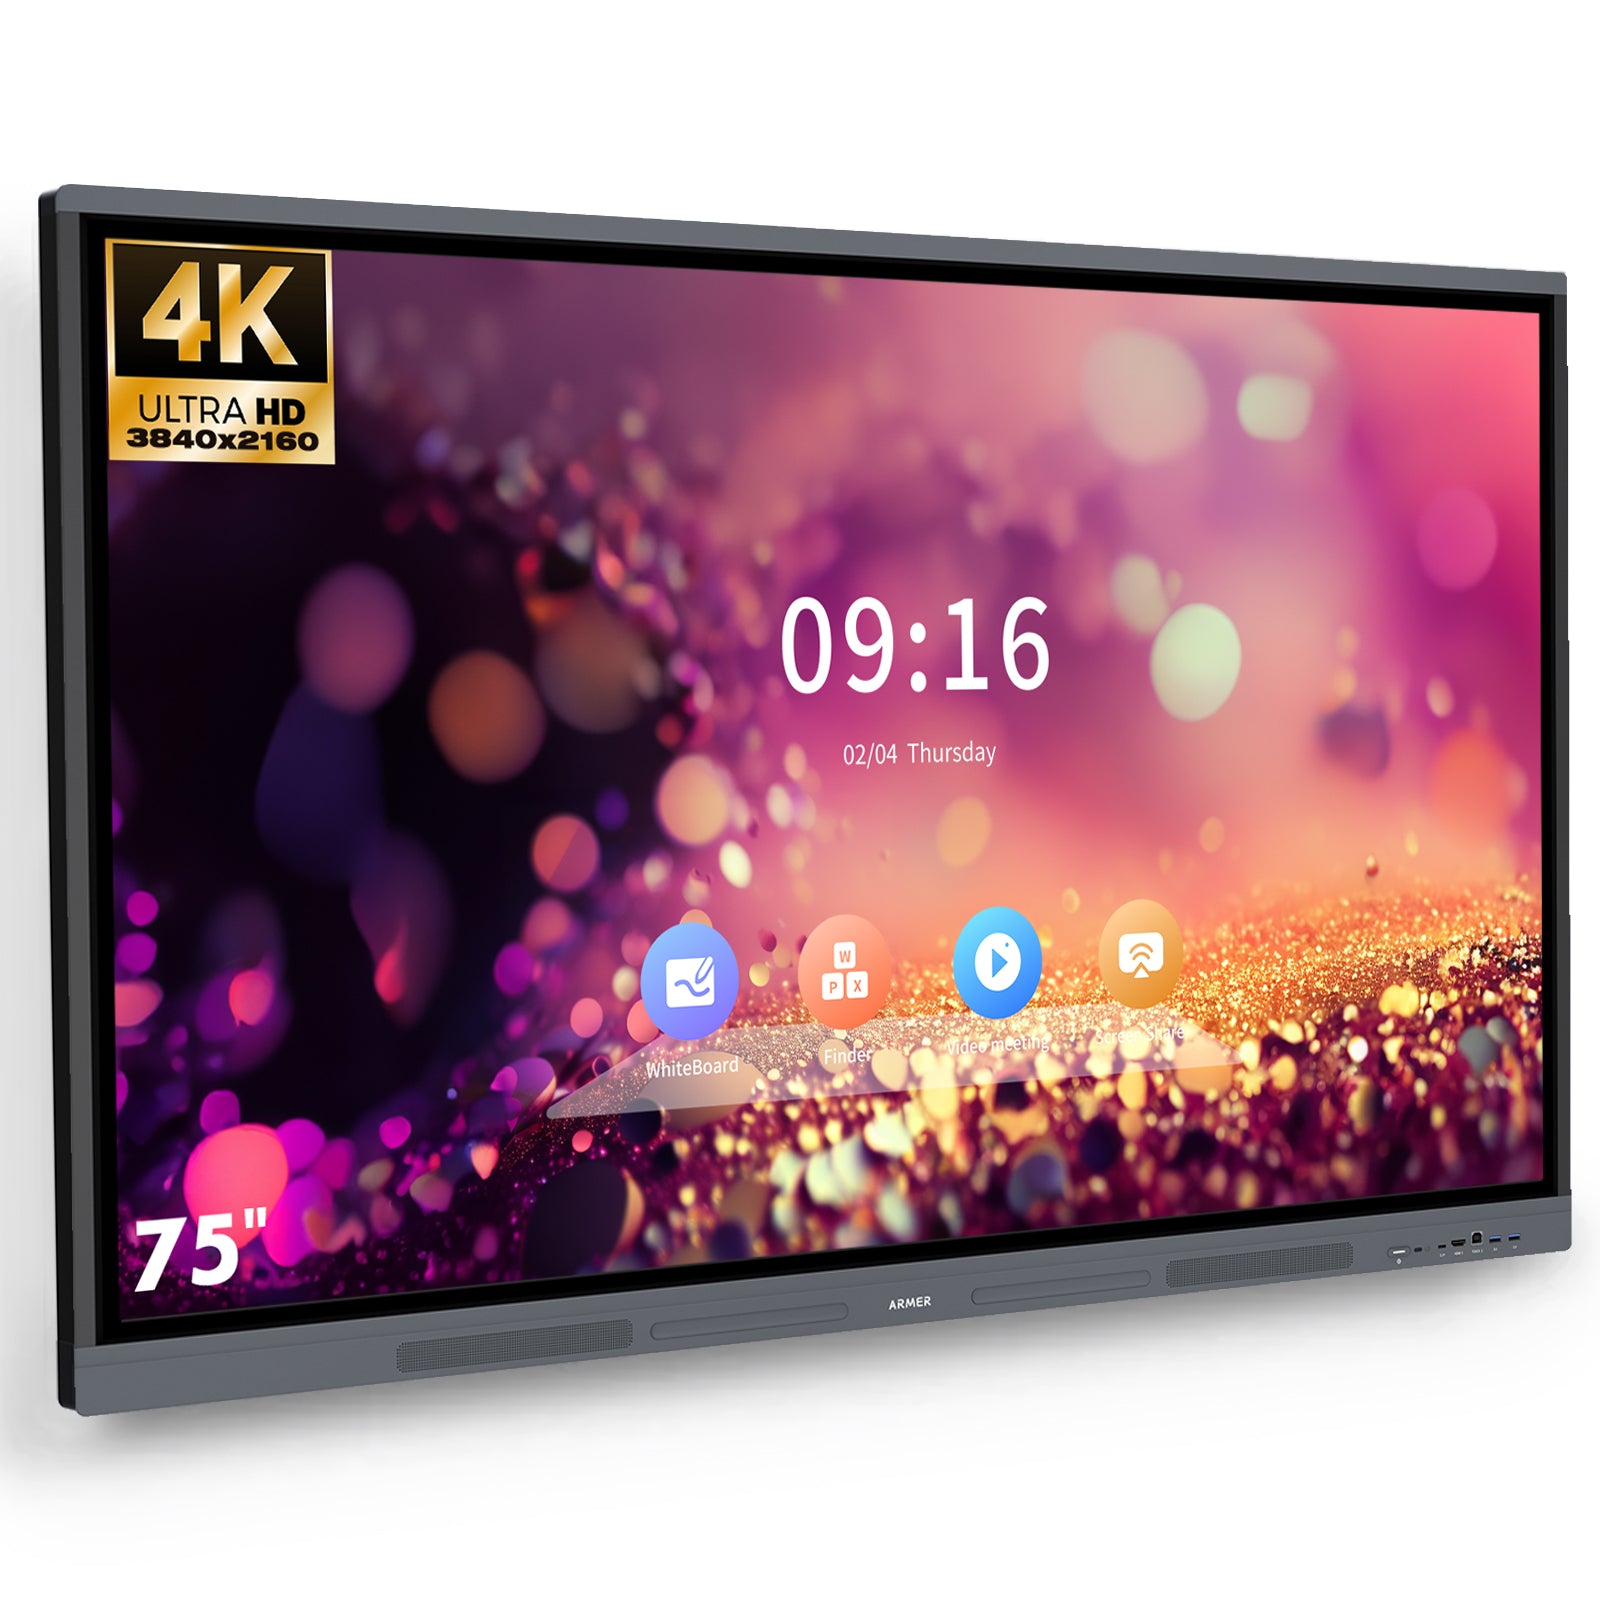
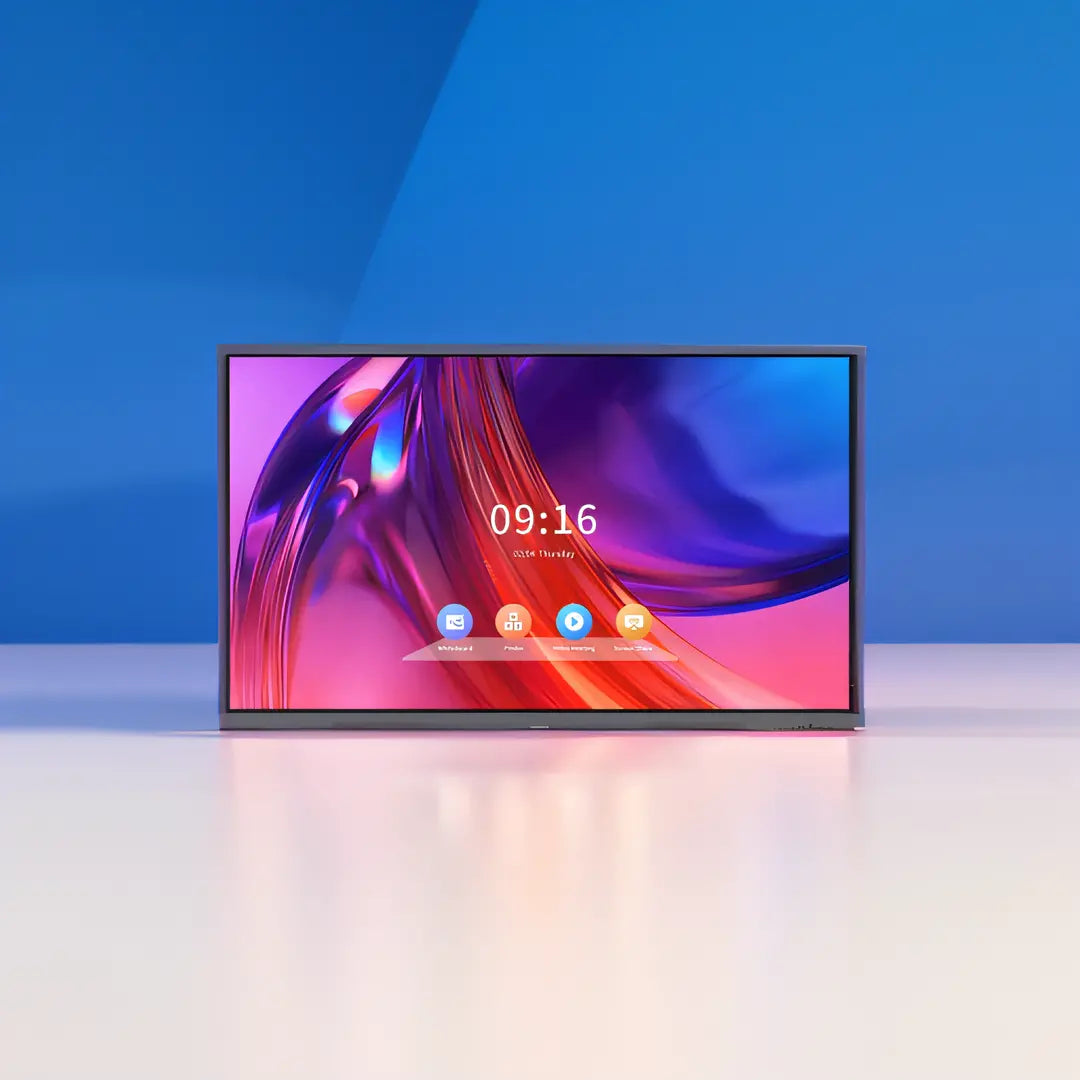
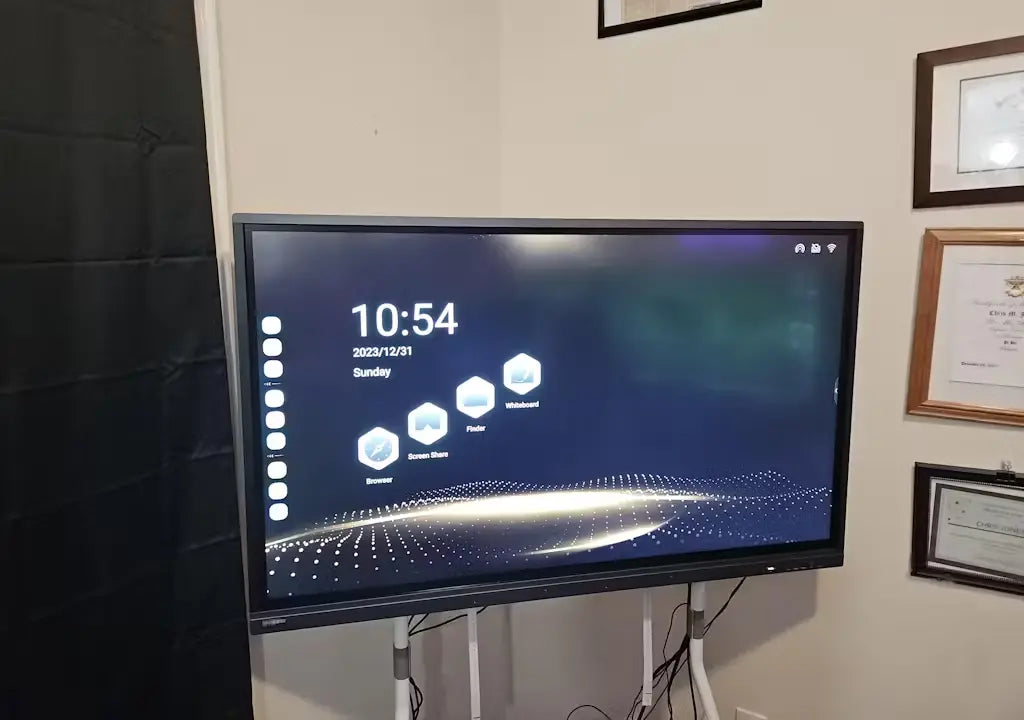
Interactive whiteboard display
Go Beyond Traditional Whiteboards and Smart TVs
Change the original meeting and teaching mode and improve your efficiency through interactive whiteboard
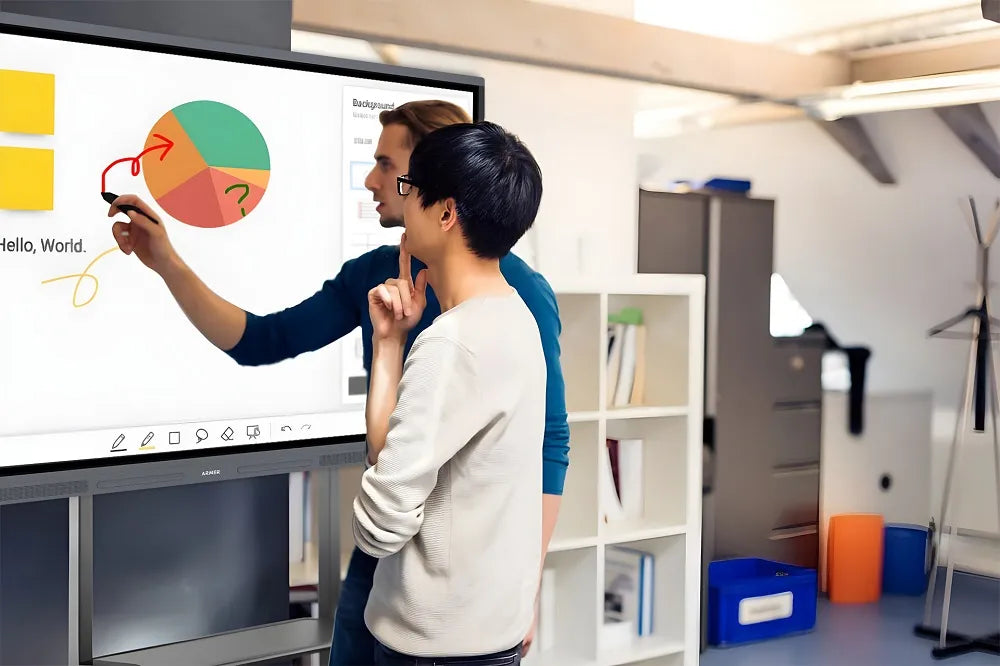
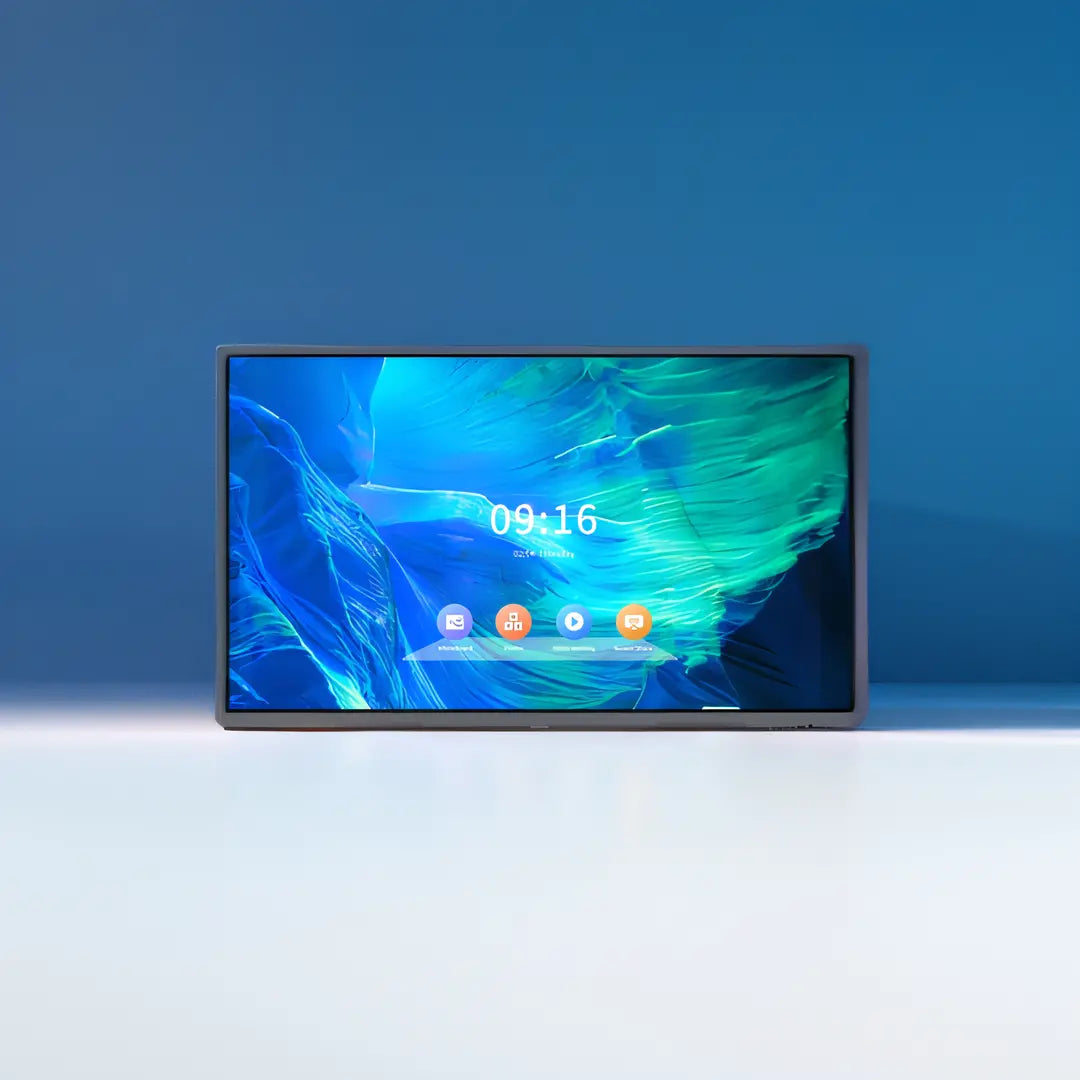
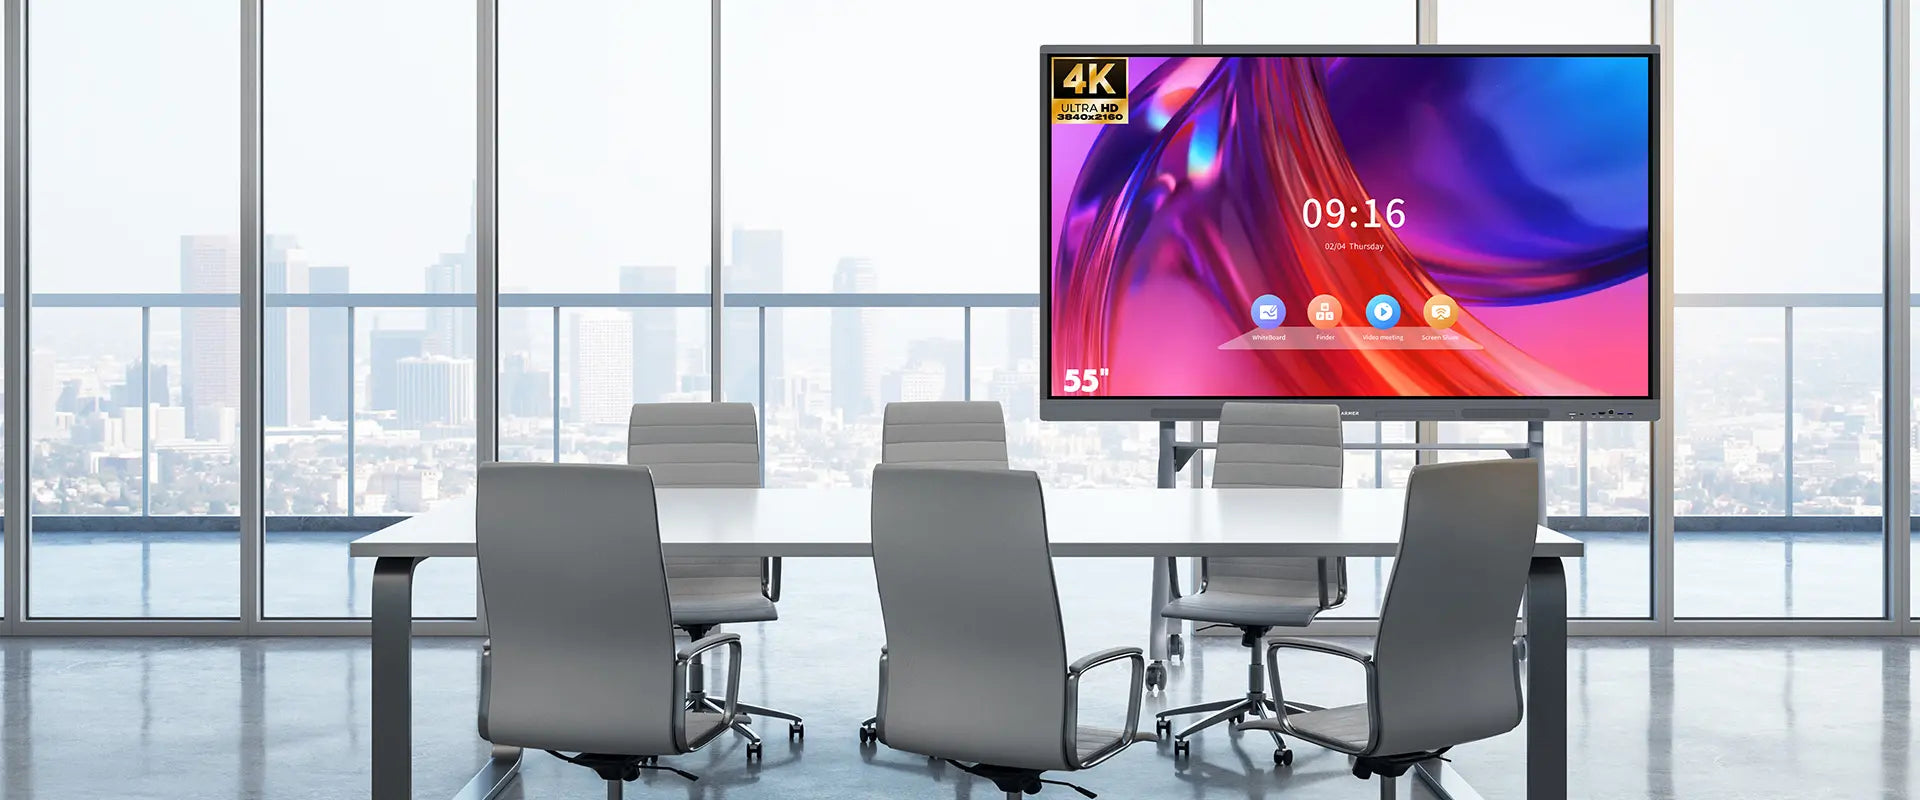
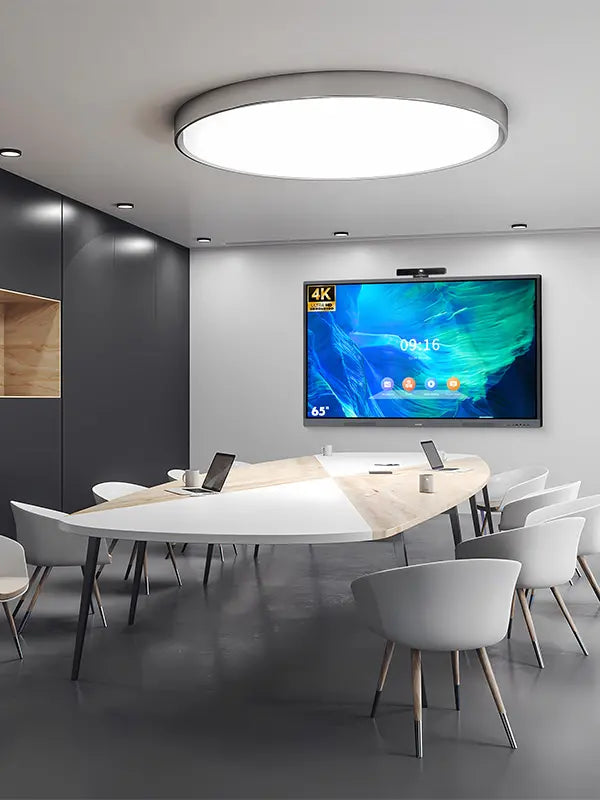
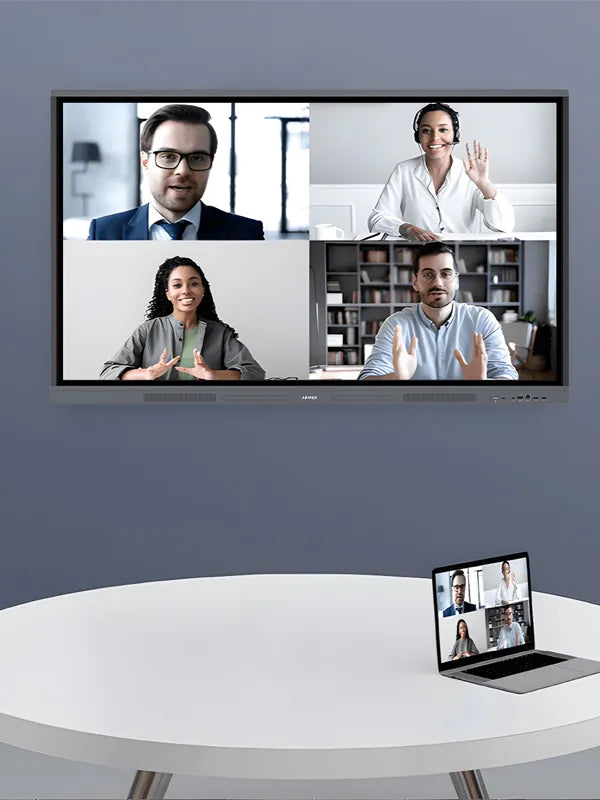
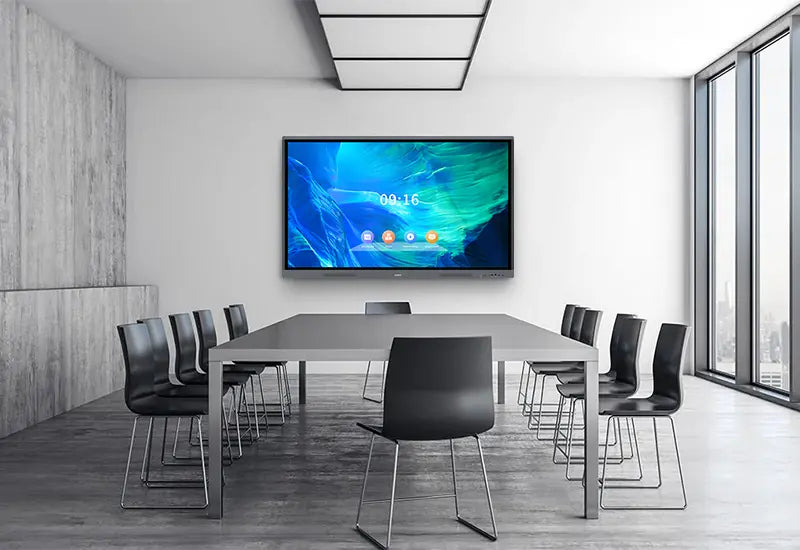
For Business Meetings
Change traditional methods and conduct efficient video conferencing, remote collaboration, and brainstorming.
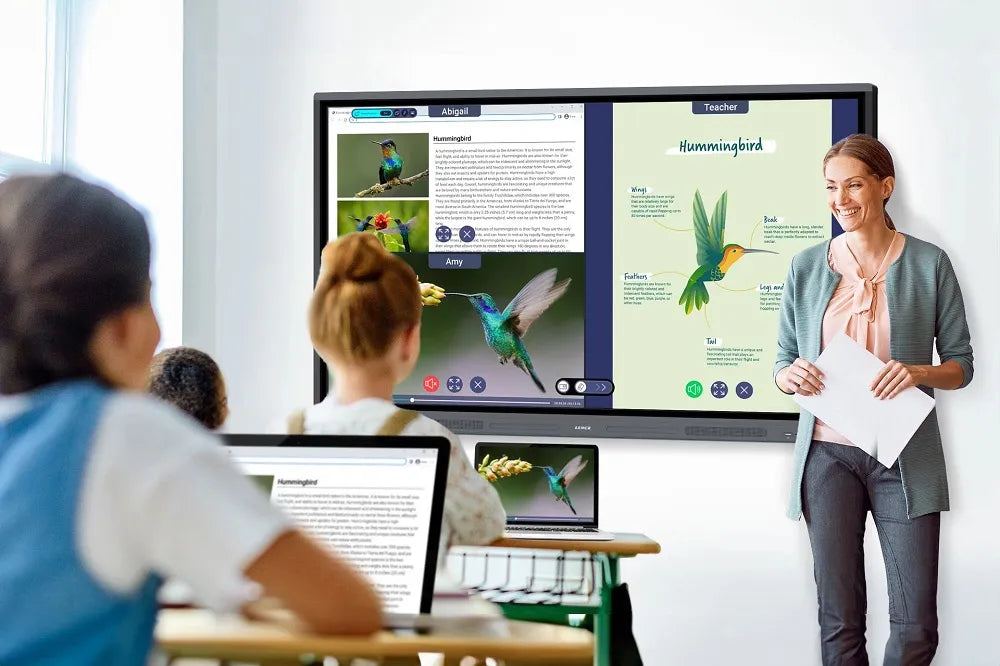
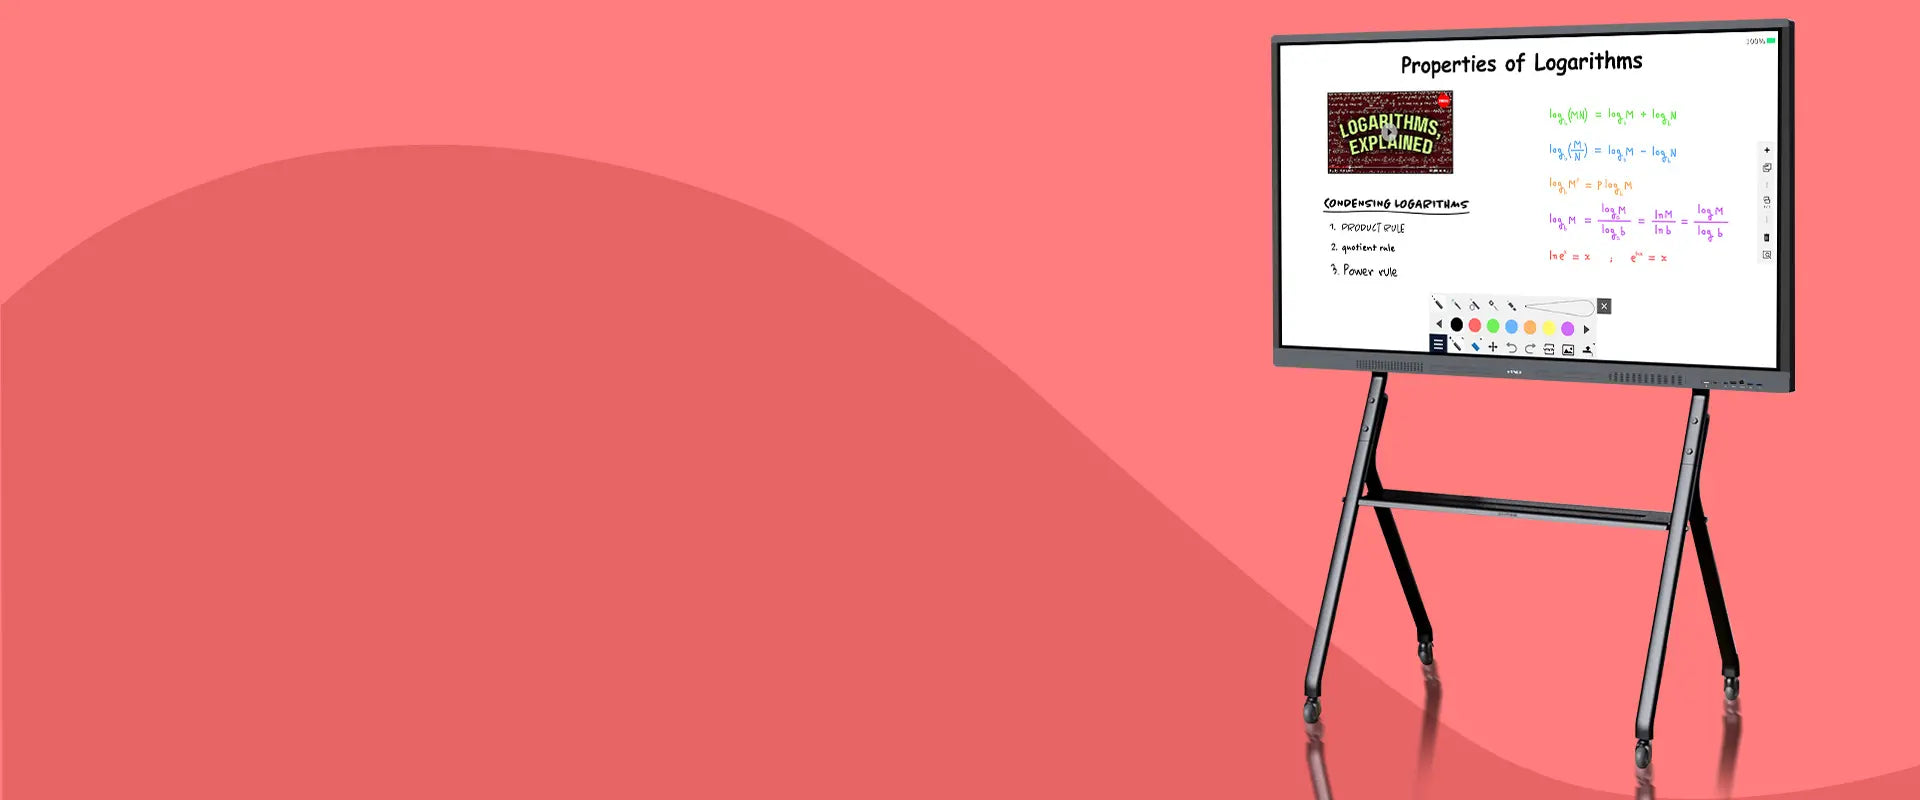
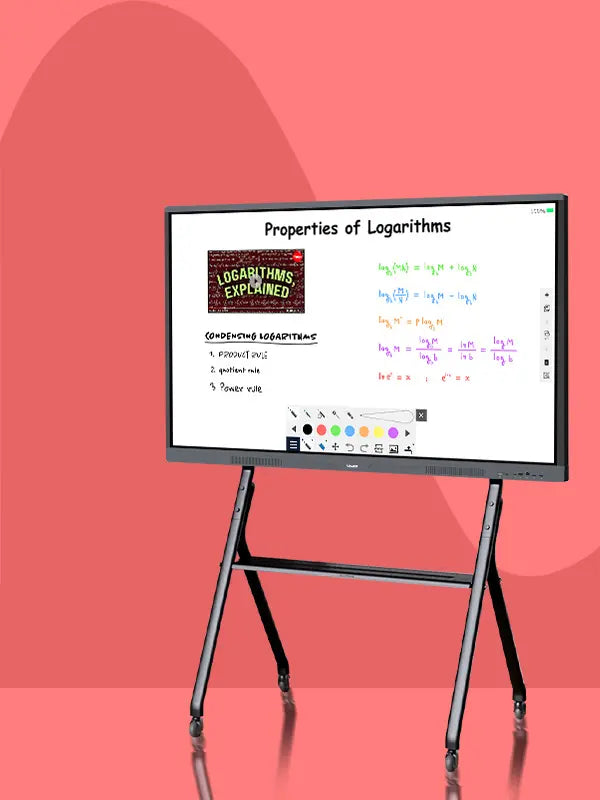
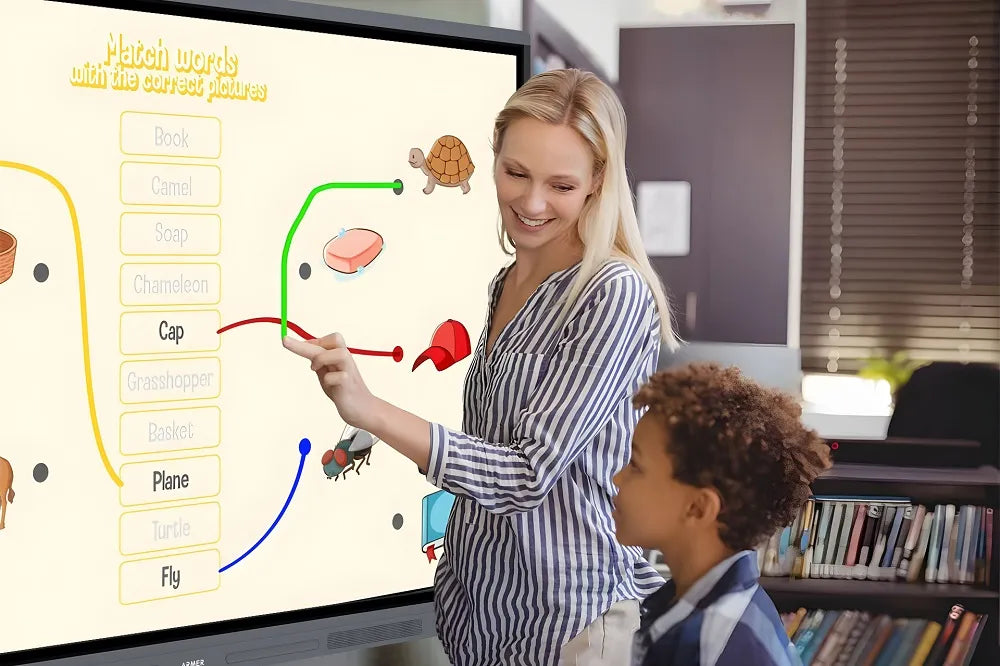
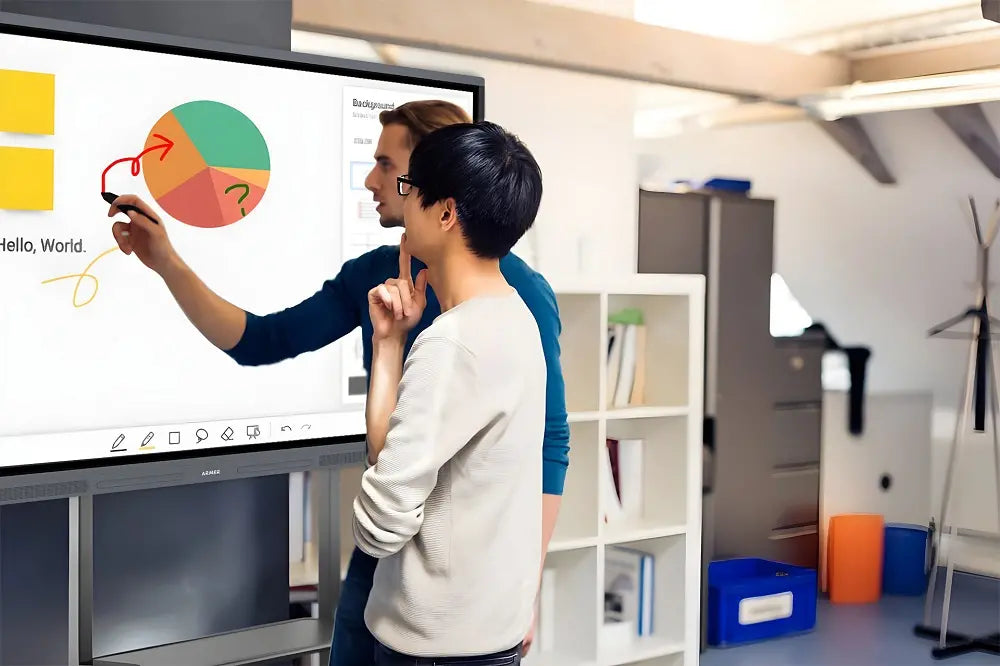
For Classrooms Teaching
Change the education model and carry out efficient teaching, homework guidance, and interactive learning.
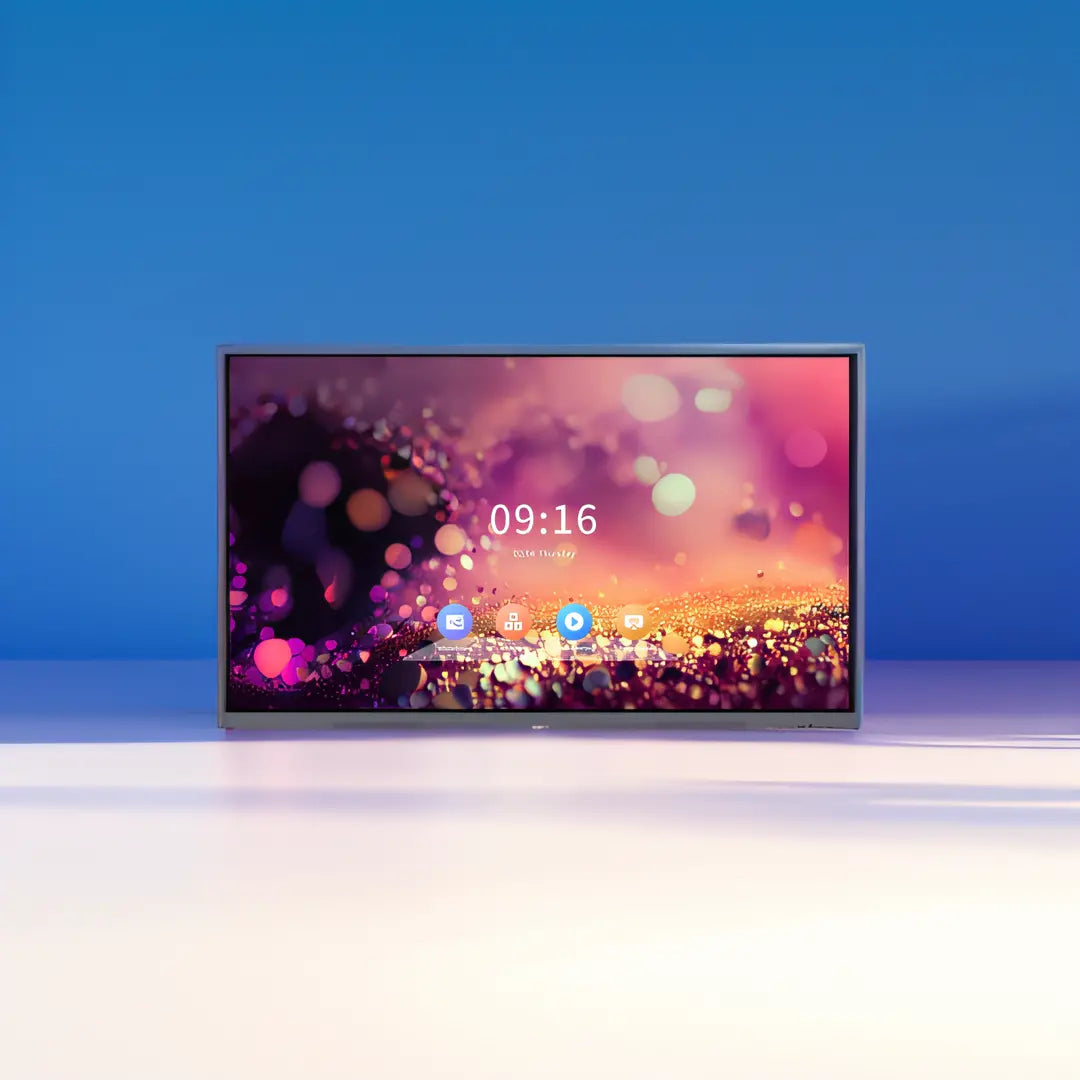
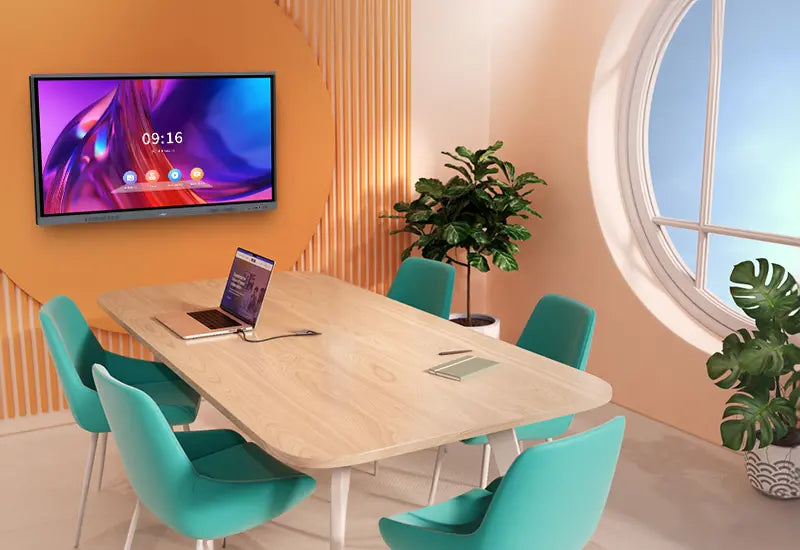
For Home Office
Change the way you work from home, carry out efficient work, home theater, leisure and entertainment, yoga.
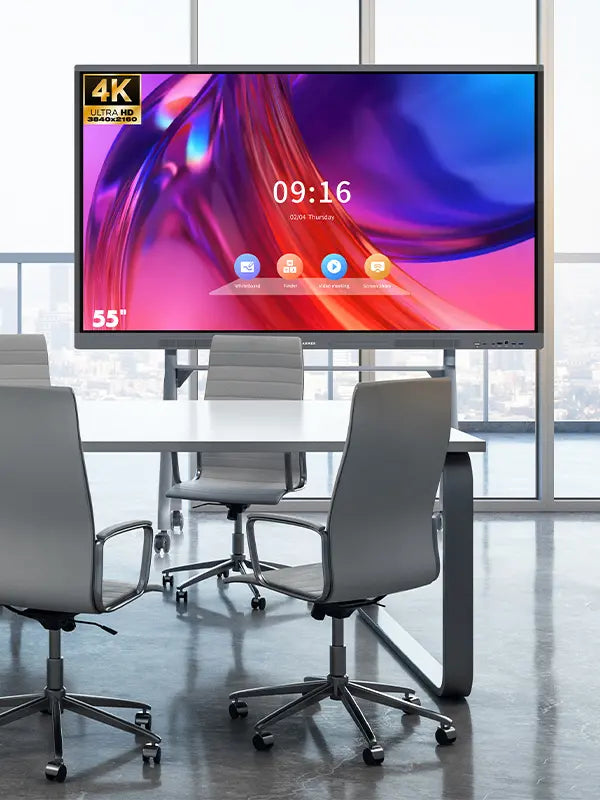
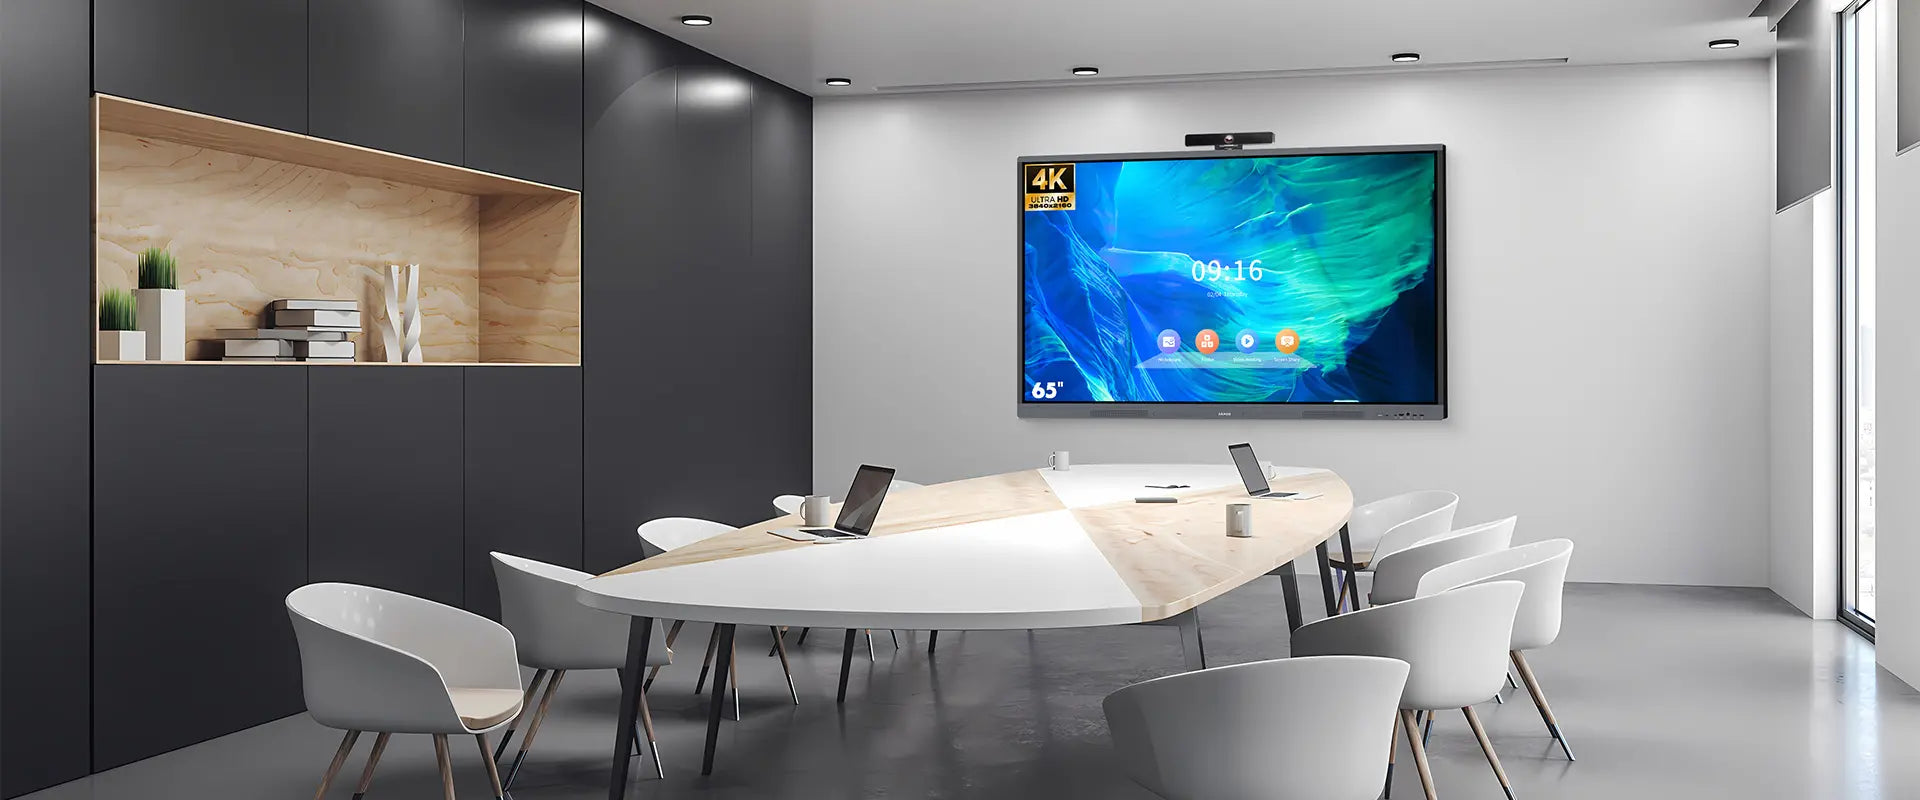
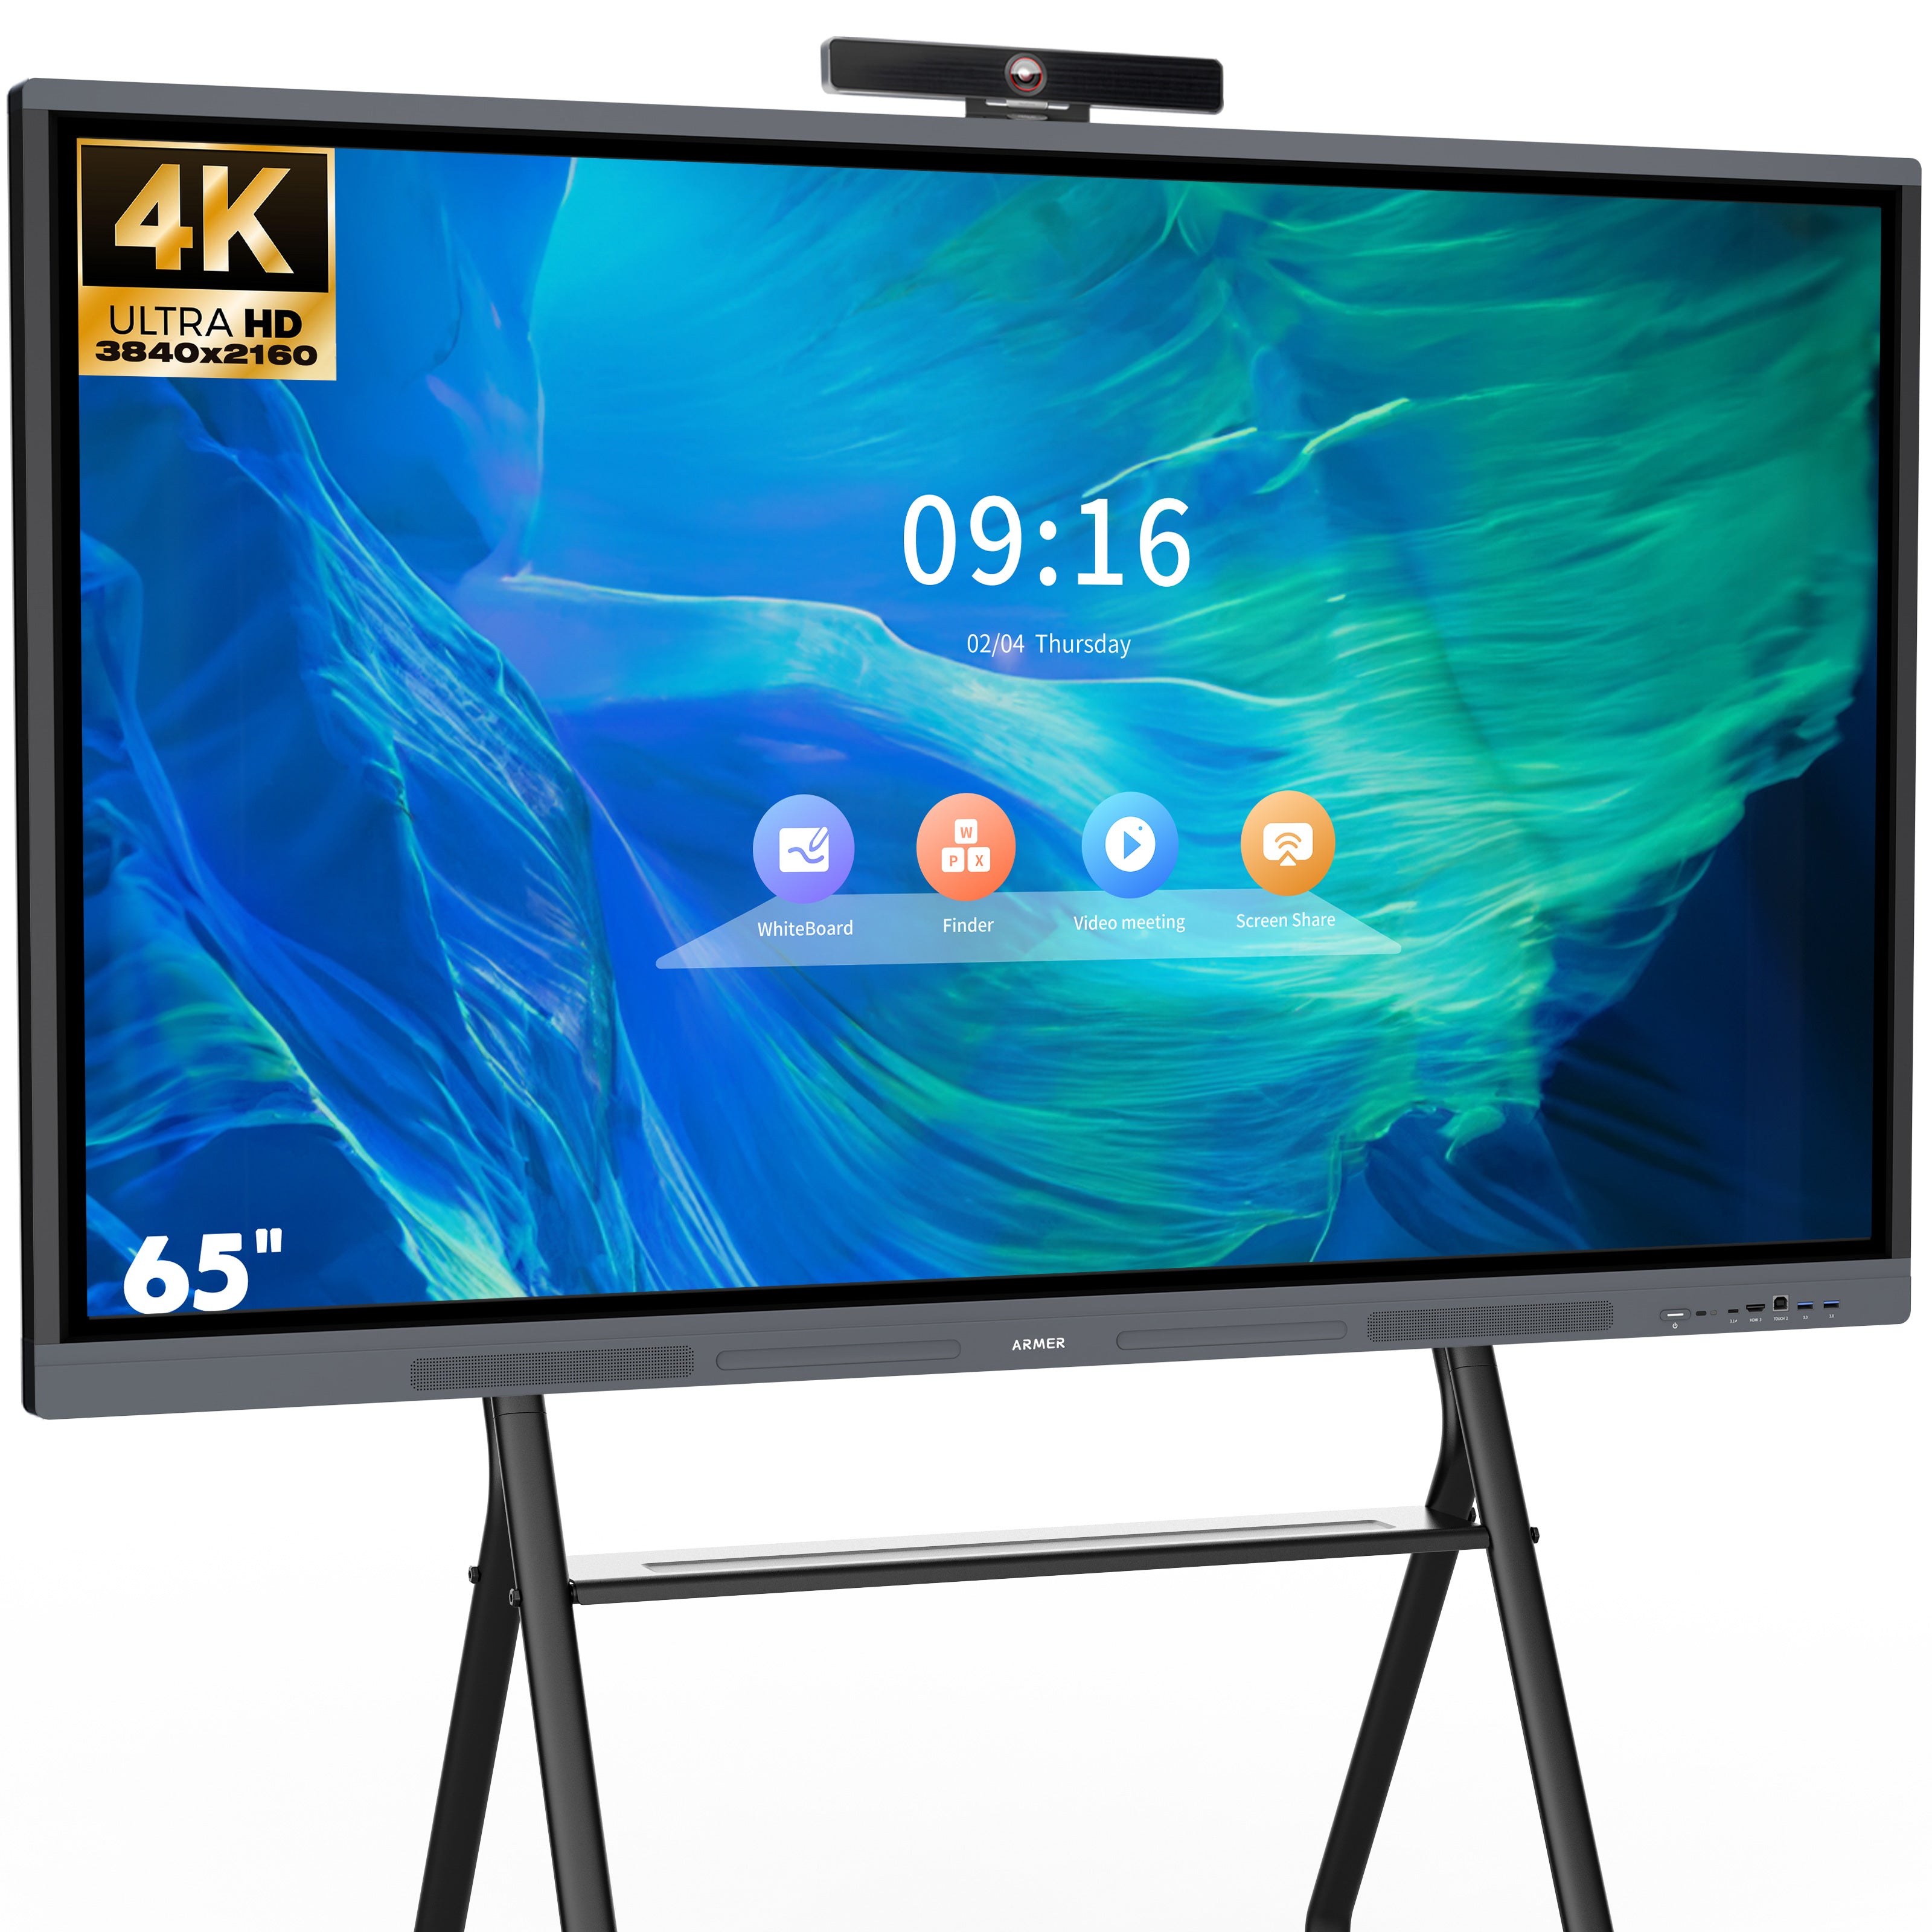
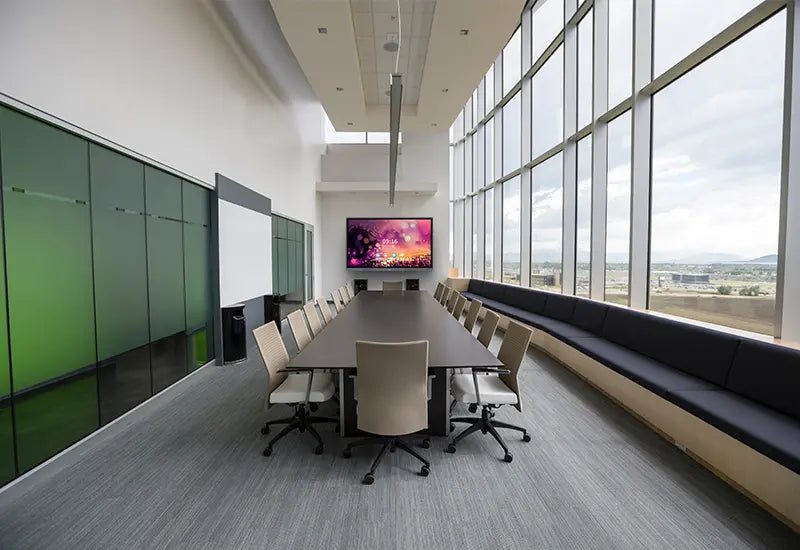
How To Choose Size?
The interactive room smart board dimensions solution makes meetings more efficient
Meet Our Customers
Trusted by 38800+ Businesses and Schools
Customer support for us is the driving force for us to move forward

Mulrooney
Excellent interactive experience
"I've been using the Armer interactive whiteboard for some time now, and I can't help but admire its user-friendly interface and multifunctional features. It's a wellspring of endless creativity and innovation."

Longaker
Big screen, great value for money
"The Armer board is a welcomed addition to my meetings. Colleagues and clients alike appreciate its interactive features, significantly improving our meeting efficiency and interactivity."

Lsabella Coombs
Left a deep impression
"During my usage, the functionality of the Armer board has left a profound impression on me. In team meetings, we can use it for gaming experiences, and its seamless operation allows us to interact effortlessly, thereby enhancing our productivity and teamwork."

Marvin Reid
Teaching smart board
"I can download any program I need from the google play pre-installed on the Armer board. It is like an open source smart board and I can use it very conveniently. I will use it to teach my students remotely, and I can convey each of their ideas clearly."

Heather Meier
The astonishing features.
"The capabilities of the Armer board are truly astounding, and the things it can accomplish are incredible. The positive feedback from our partners is a testament to its effectiveness."
Recommended By


FAQs
Have a question ? We are here to help.
Check out the most common questions our customers asked. Still have questions ? Contact our customer support.
How long will it take for me to receive my order?
Shipping & delivery will take 1-7 working days By FEDEX. Depending on the item purchased and the delivery location, delivery time is may delay sometimes during shopping peak season.
How do I track my order?
A confirmation of your order, which contains a shipment tracking number, will be emailed to you the day the product ships. Follow the status of your shipment at FedEx.com.
You can also click: Track Order
How to choose a smart board?
We have different sizes. According to different space solutions, you can find the corresponding data in the pictures or specifications on our product details page to choose and purchase.
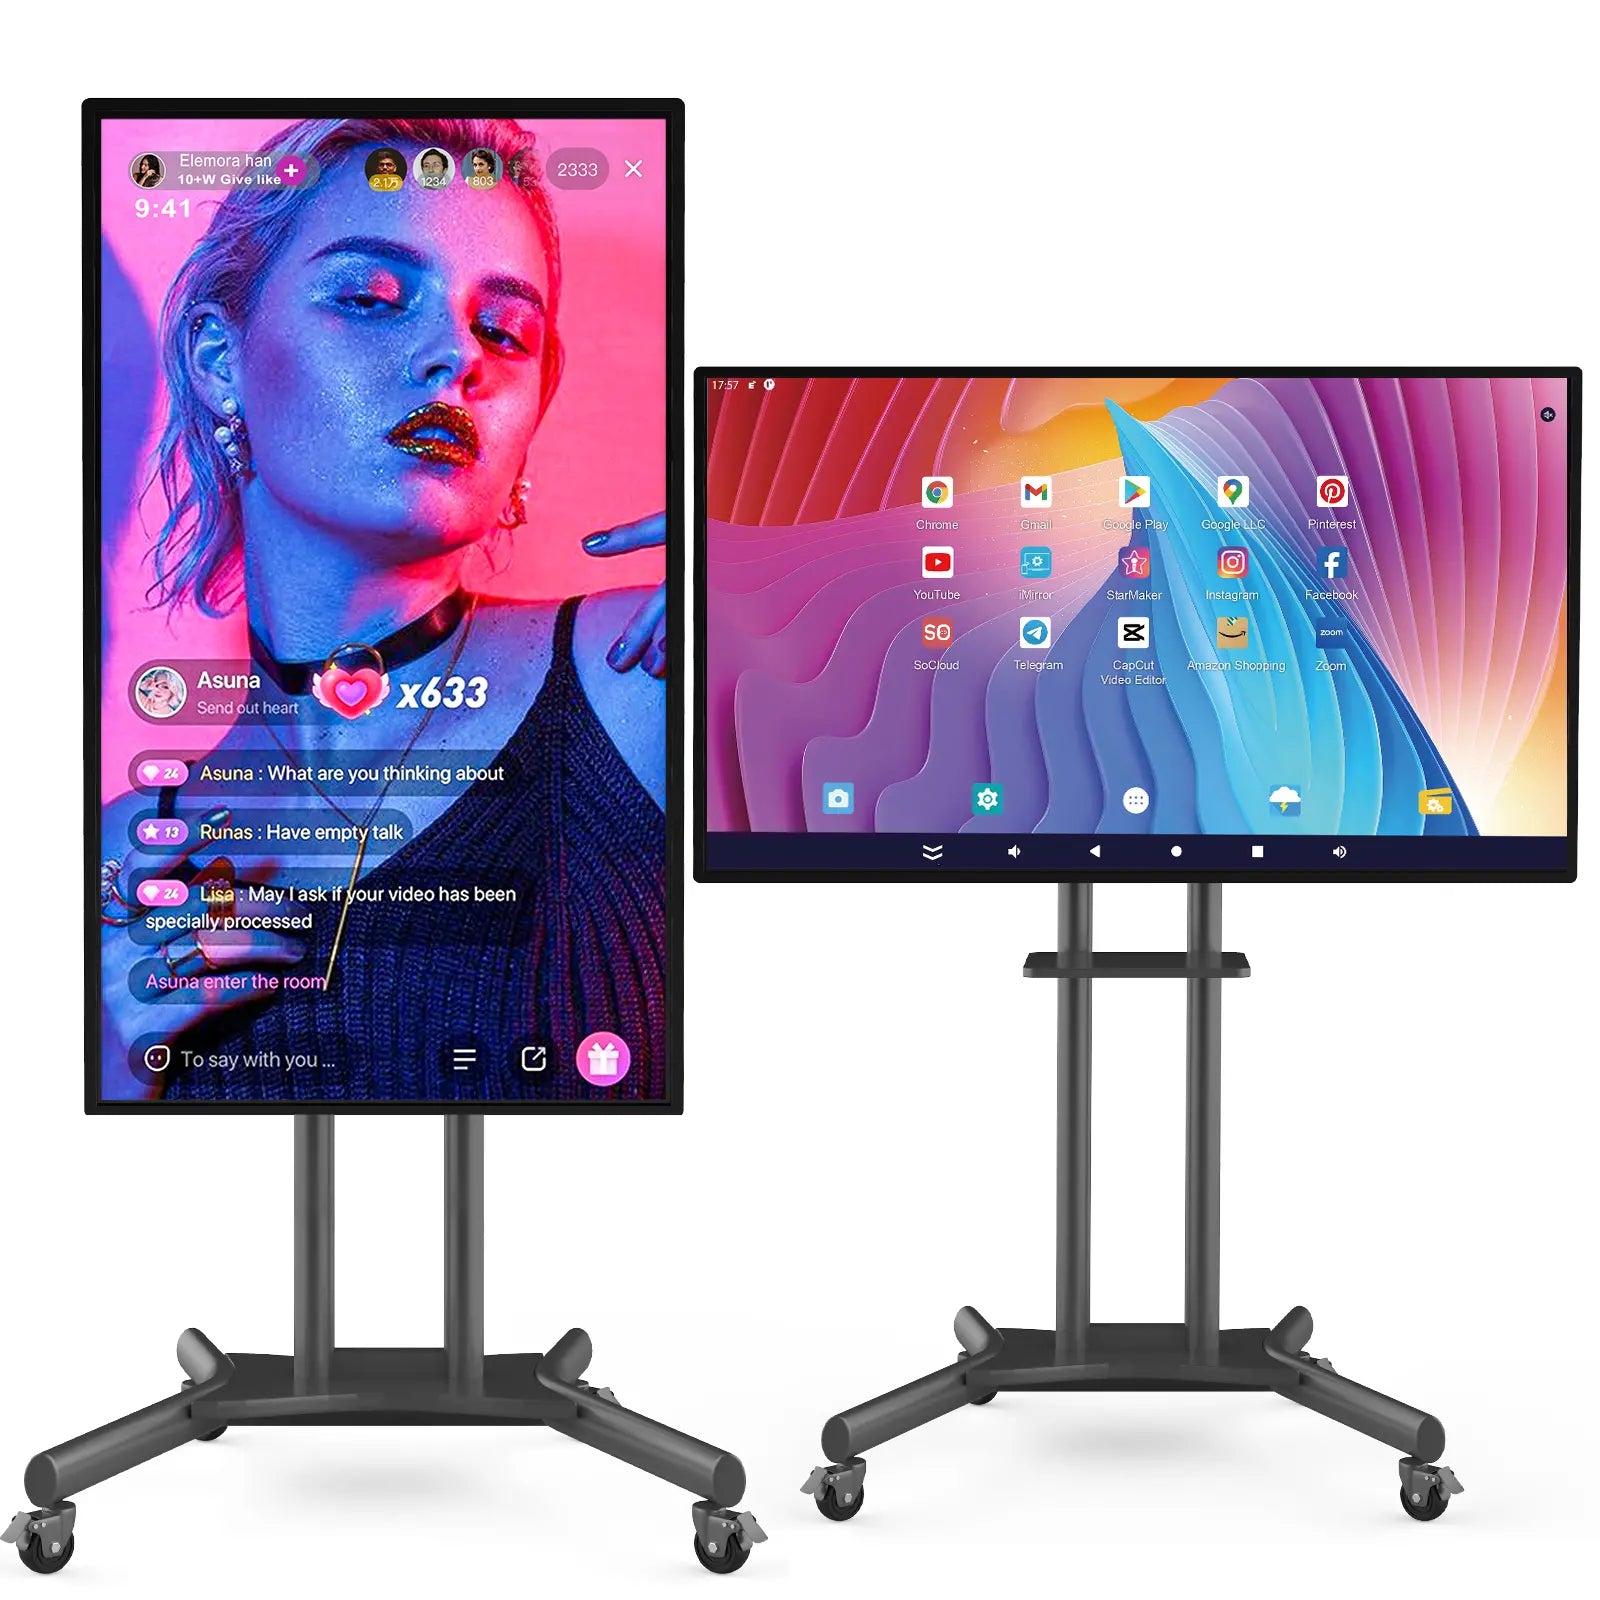
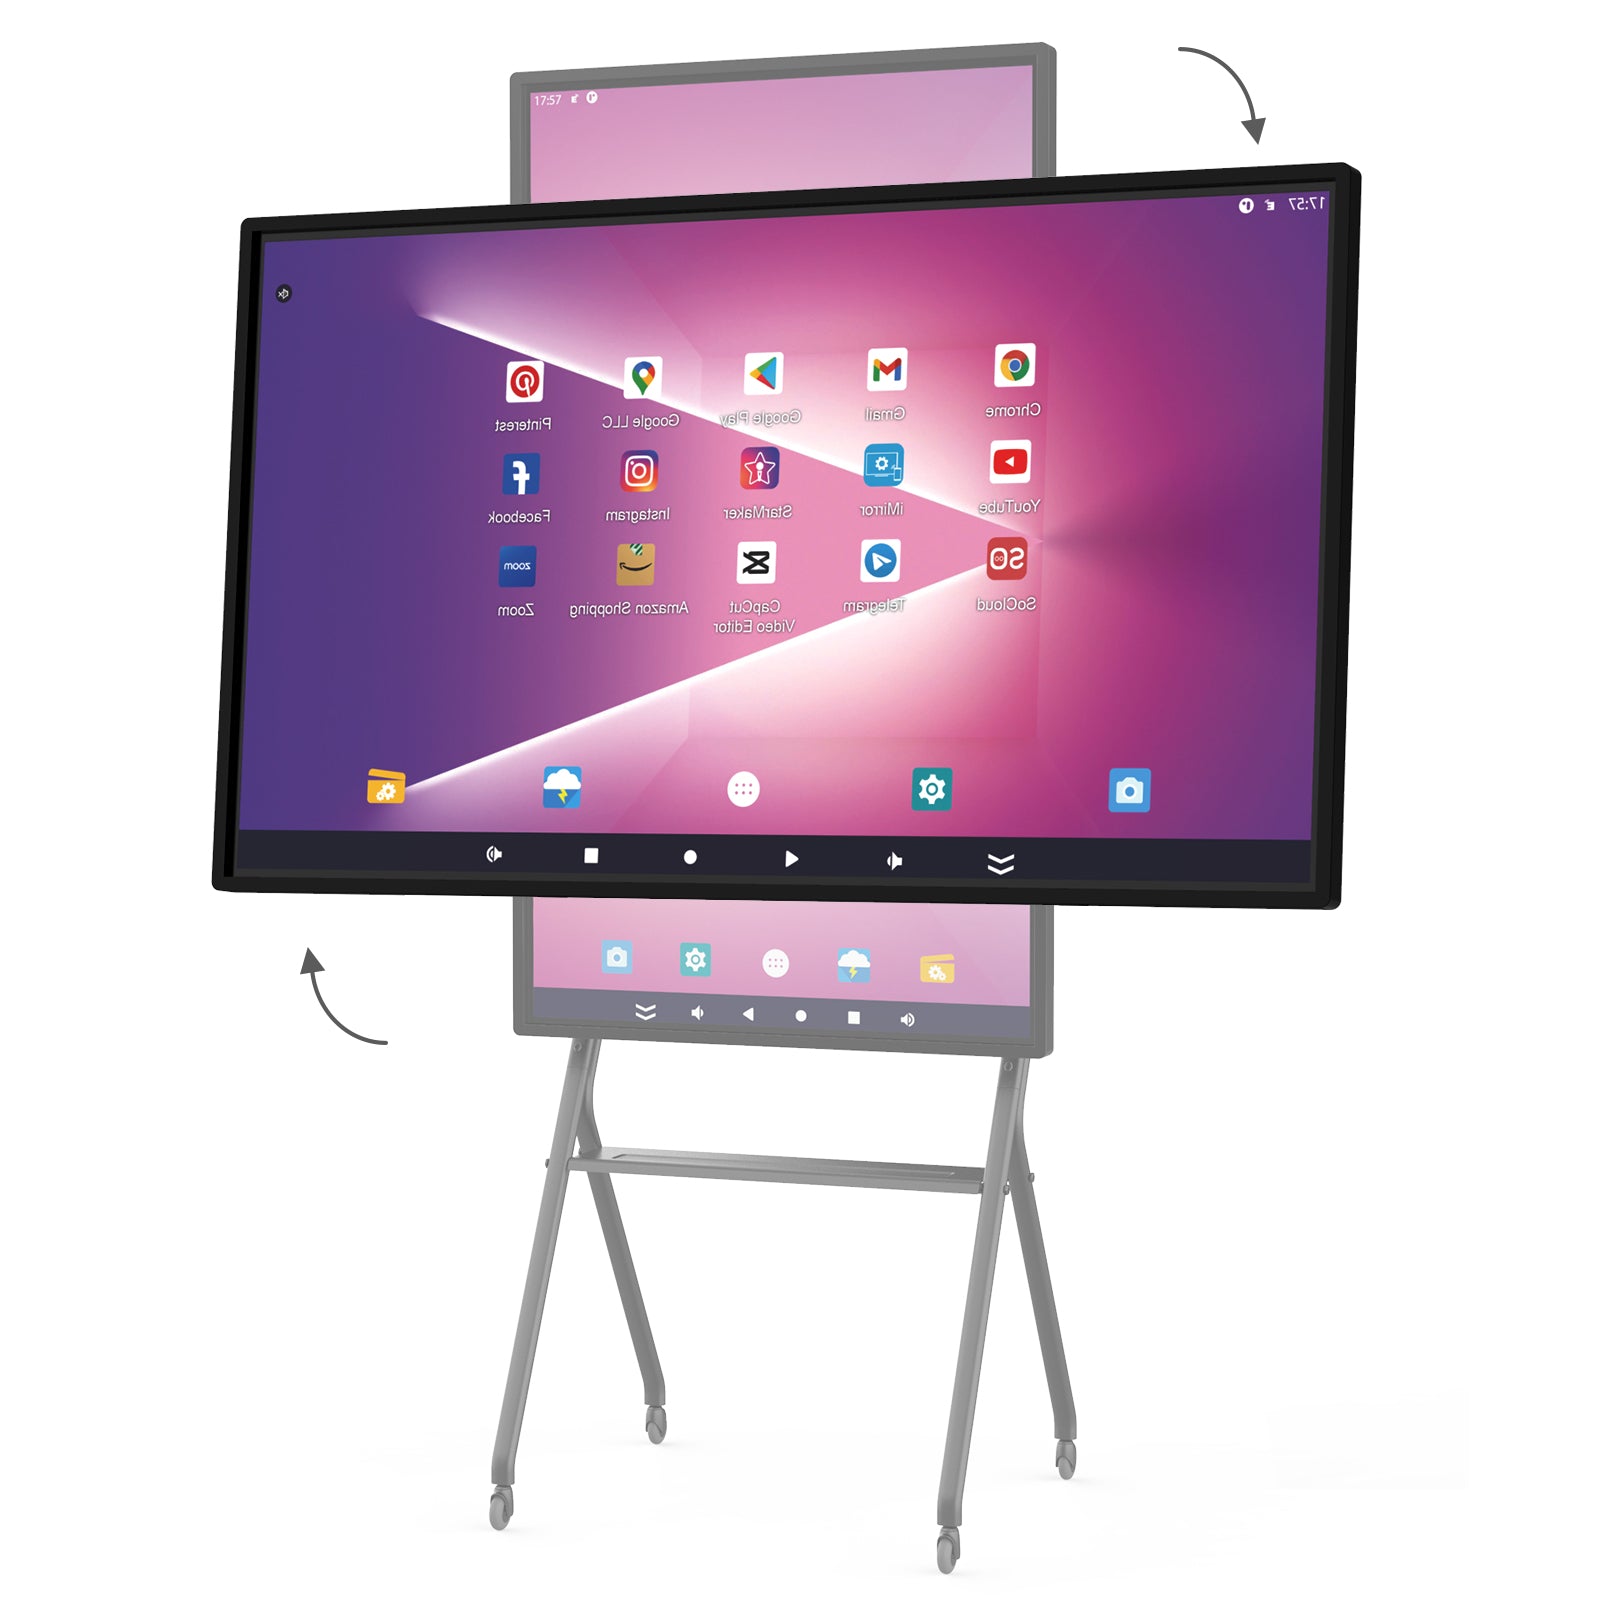
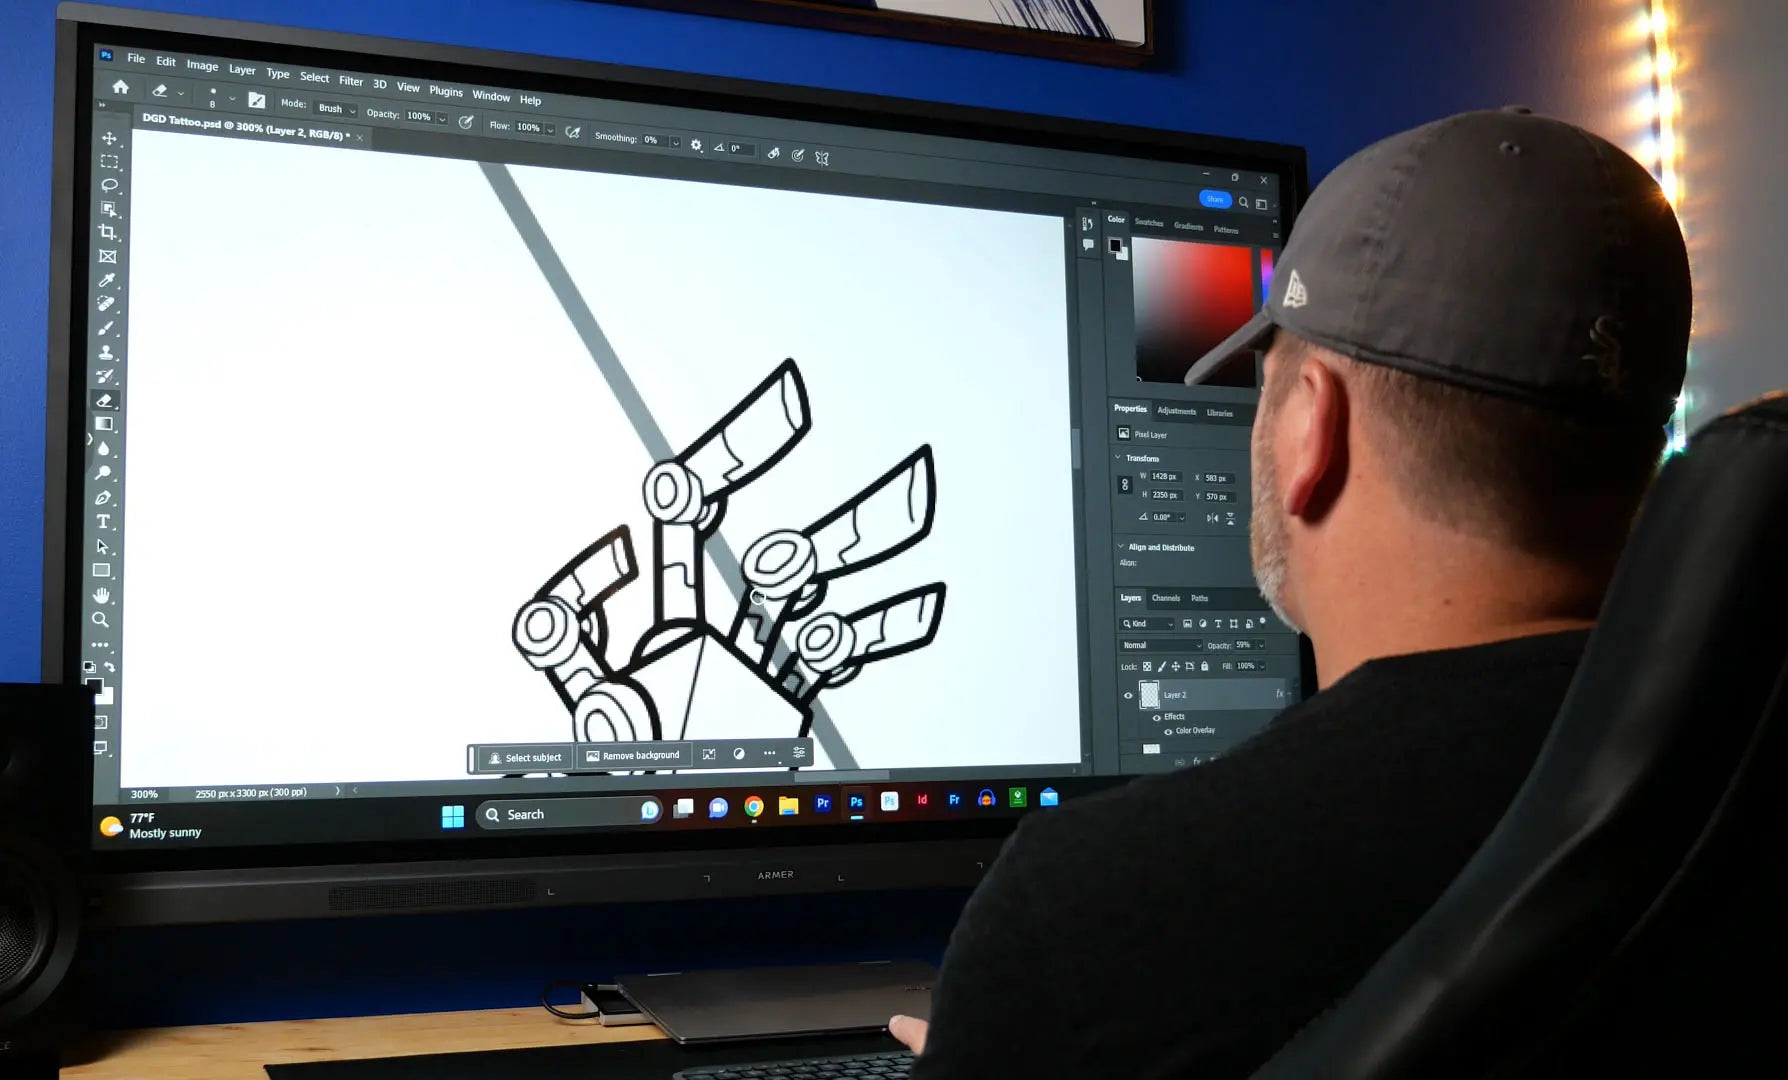
What are the advantages of Armer smart board?
A smart board is actually a large tablet. But in addition, it has the advantages of whiteboard, annotation, multi-screen, wireless screen projection, etc.
Any question?
You can contact us through our contact page, or the email adress: business@armerboard.com! We will be happy to assist you.